

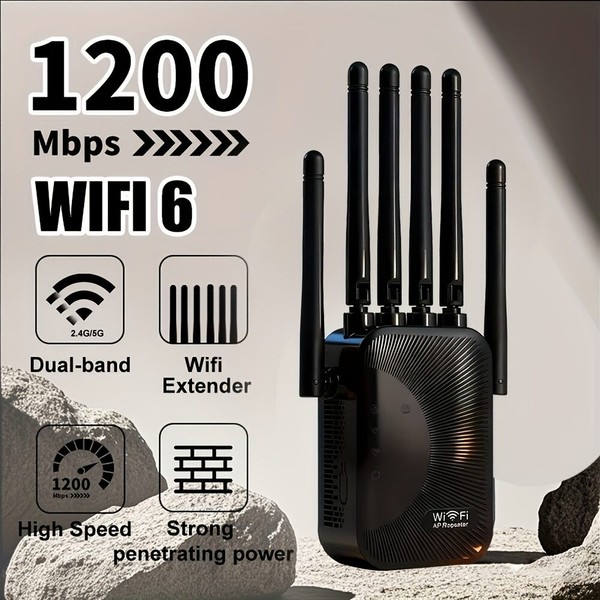
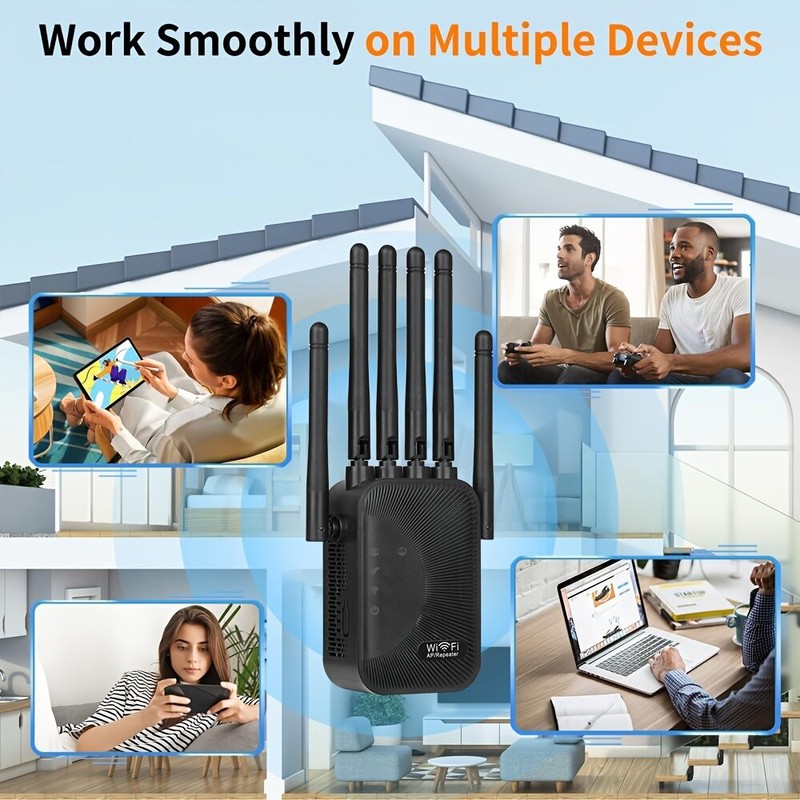
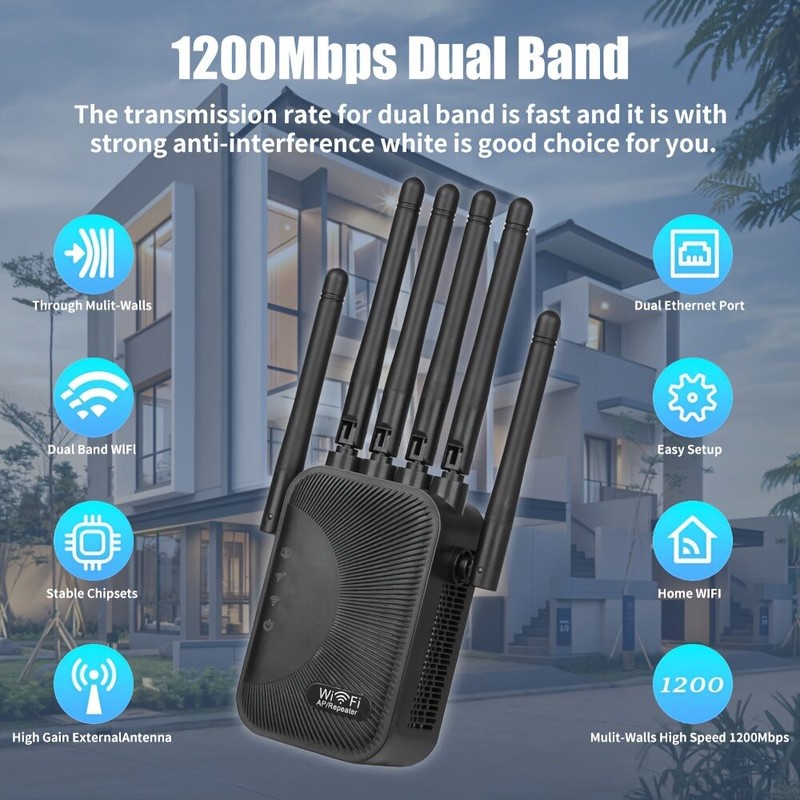


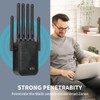
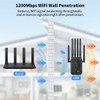
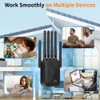
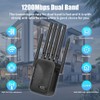
Long-Range WiFi Extender Booster Ethernet Port 1200 Square Feet Coverage Supports 55 Devices Easy Setup High-Performance Antenna
$71.69
- $14.99 shipping from Malaysia View details
-
Arrives
WiFi 6 Wireless Extender User Guide
1. Product Overview
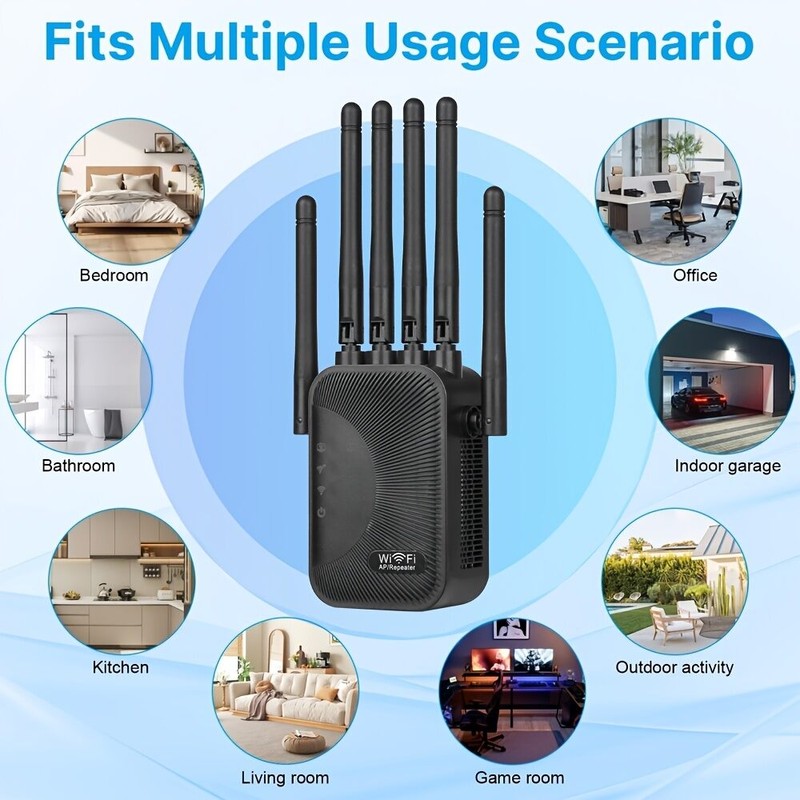
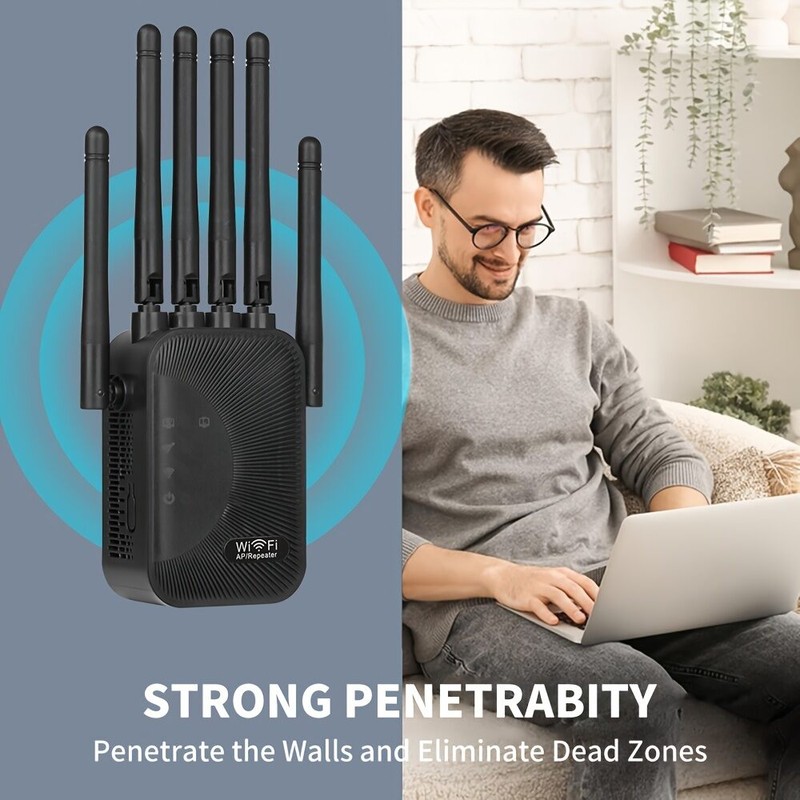
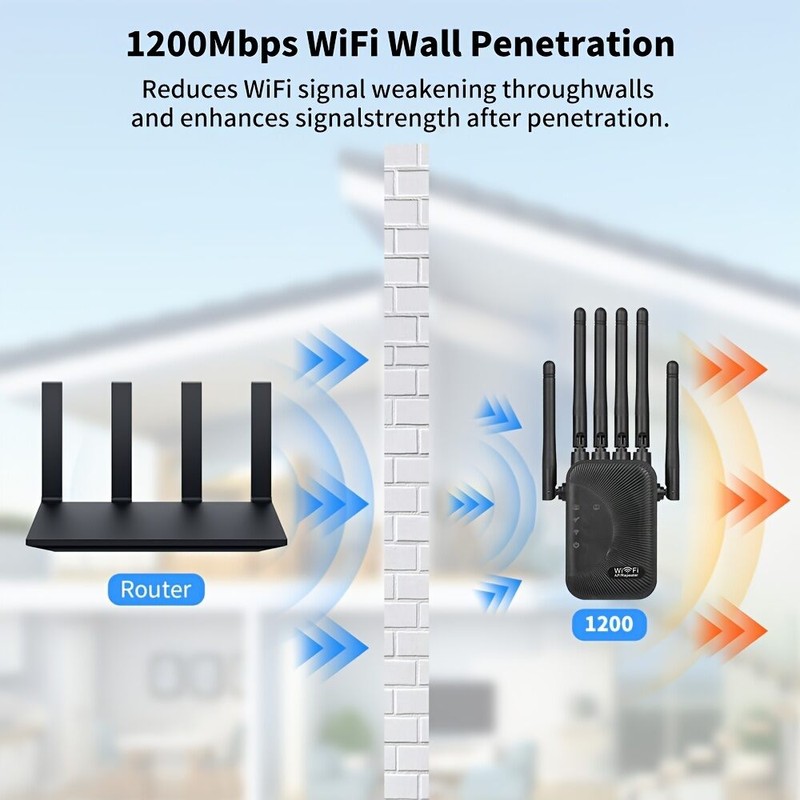
The WiFi 6 dual-band wireless extender is a signal amplification device supporting 2.4GHz and 5GHz dual bands with a maximum speed of 1200Mbps. It is specially designed to solve common WiFi problems such as weak signals, dead zones, and unstable network speeds in homes, offices, shops, and other scenarios. By receiving and amplifying the signal from your existing wireless router, this extender extends WiFi coverage over long distances, ensuring stable internet connection in previously unreachable areas such as bedrooms, balconies, bathrooms, and corridors.
Adopting advanced WiFi 6 technology, the extender delivers lower latency, stronger anti-interference capability, and more stable connections for multiple devices. It is widely compatible with mobile phones, computers, TVs, smart home devices, and other wireless terminals. The device features plug-and-play functionality, allowing users to complete setup quickly without professional network knowledge.
2. Pre-Installation Preparation
Before use, please check that the device and accessories are intact, including the main extender unit and this user manual. Place the extender between your main router and the WiFi dead zone to ensure it can stably receive the router’s signal. Avoid placing the device near metal obstructions, thick walls, microwaves, induction cookers, cordless phones, or other strong interference sources, as these may weaken signal quality and reduce network speed.
The installation environment should be dry, ventilated, cool, and free from high temperatures or moisture to prevent equipment damage and ensure stable performance.
3. Two Configuration Methods
(1) WPS One-Button Connection (Recommended)
Plug the extender into a power socket near your main router and wait for the indicator light to turn on, entering pairing mode.
Press the WPS button on your main router within 1 minute; the WPS light will usually flash rapidly.
Immediately press the WPS button on the extender and wait for automatic connection.
When the indicator light turns solid green or blue, pairing is successful.
Unplug the extender and move it to your ideal position for full signal coverage. This method requires no password input and is suitable for users unfamiliar with network settings.
(2) Web Management Setup (Compatible with All Routers)
Connect your phone or computer to the extender’s default WiFi name (printed on the device label).
Open a browser and enter the management IP address (usually 192.168.x.x) or scan the QR code in the manual.
Log in with the default administrator password to enter the setup wizard.
Select your main router’s WiFi name and enter the correct WiFi password.
Set the extended WiFi name and password. Using the same name and password as your main router supports seamless roaming.
Save settings and wait for the device to reboot. A steady indicator light means setup is complete.
4. Usage and Placement Tips
Proper placement directly determines WiFi performance. The best location is the midpoint between the router and the weak-signal area, ensuring strong reception and effective amplification. Placing it too far causes slow speeds and frequent disconnections; placing it too close limits coverage.
For dual-band usage:
Connect to the 5GHz band for short distances and high-speed demand (faster speed, lower latency).
Connect to the 2.4GHz band for long distances and wall penetration (more stable, stronger coverage).
The extender supports simultaneous connections of multiple devices. For optimal stability, power-cycle the extender every 7 to 15 days.
5. Indicator Light Status
Solid power light: Device powered on normally.
Flashing light: Booting or connecting.
Solid green/blue light: Successfully connected, good signal.
Flashing red or solid yellow light: Weak signal; move closer to the router.
All lights off: Check power supply or device damage.
6. Factory Reset
If you forget the password, misconfigure settings, cannot connect, or change the usage environment, perform a reset:
Use a pin or toothpick to press and hold the Reset hole for 8–10 seconds until all lights flash. Release the button, and the device will restore to factory defaults. All previous settings will be erased, and you may reconfigure it.
7. Warnings and Troubleshooting
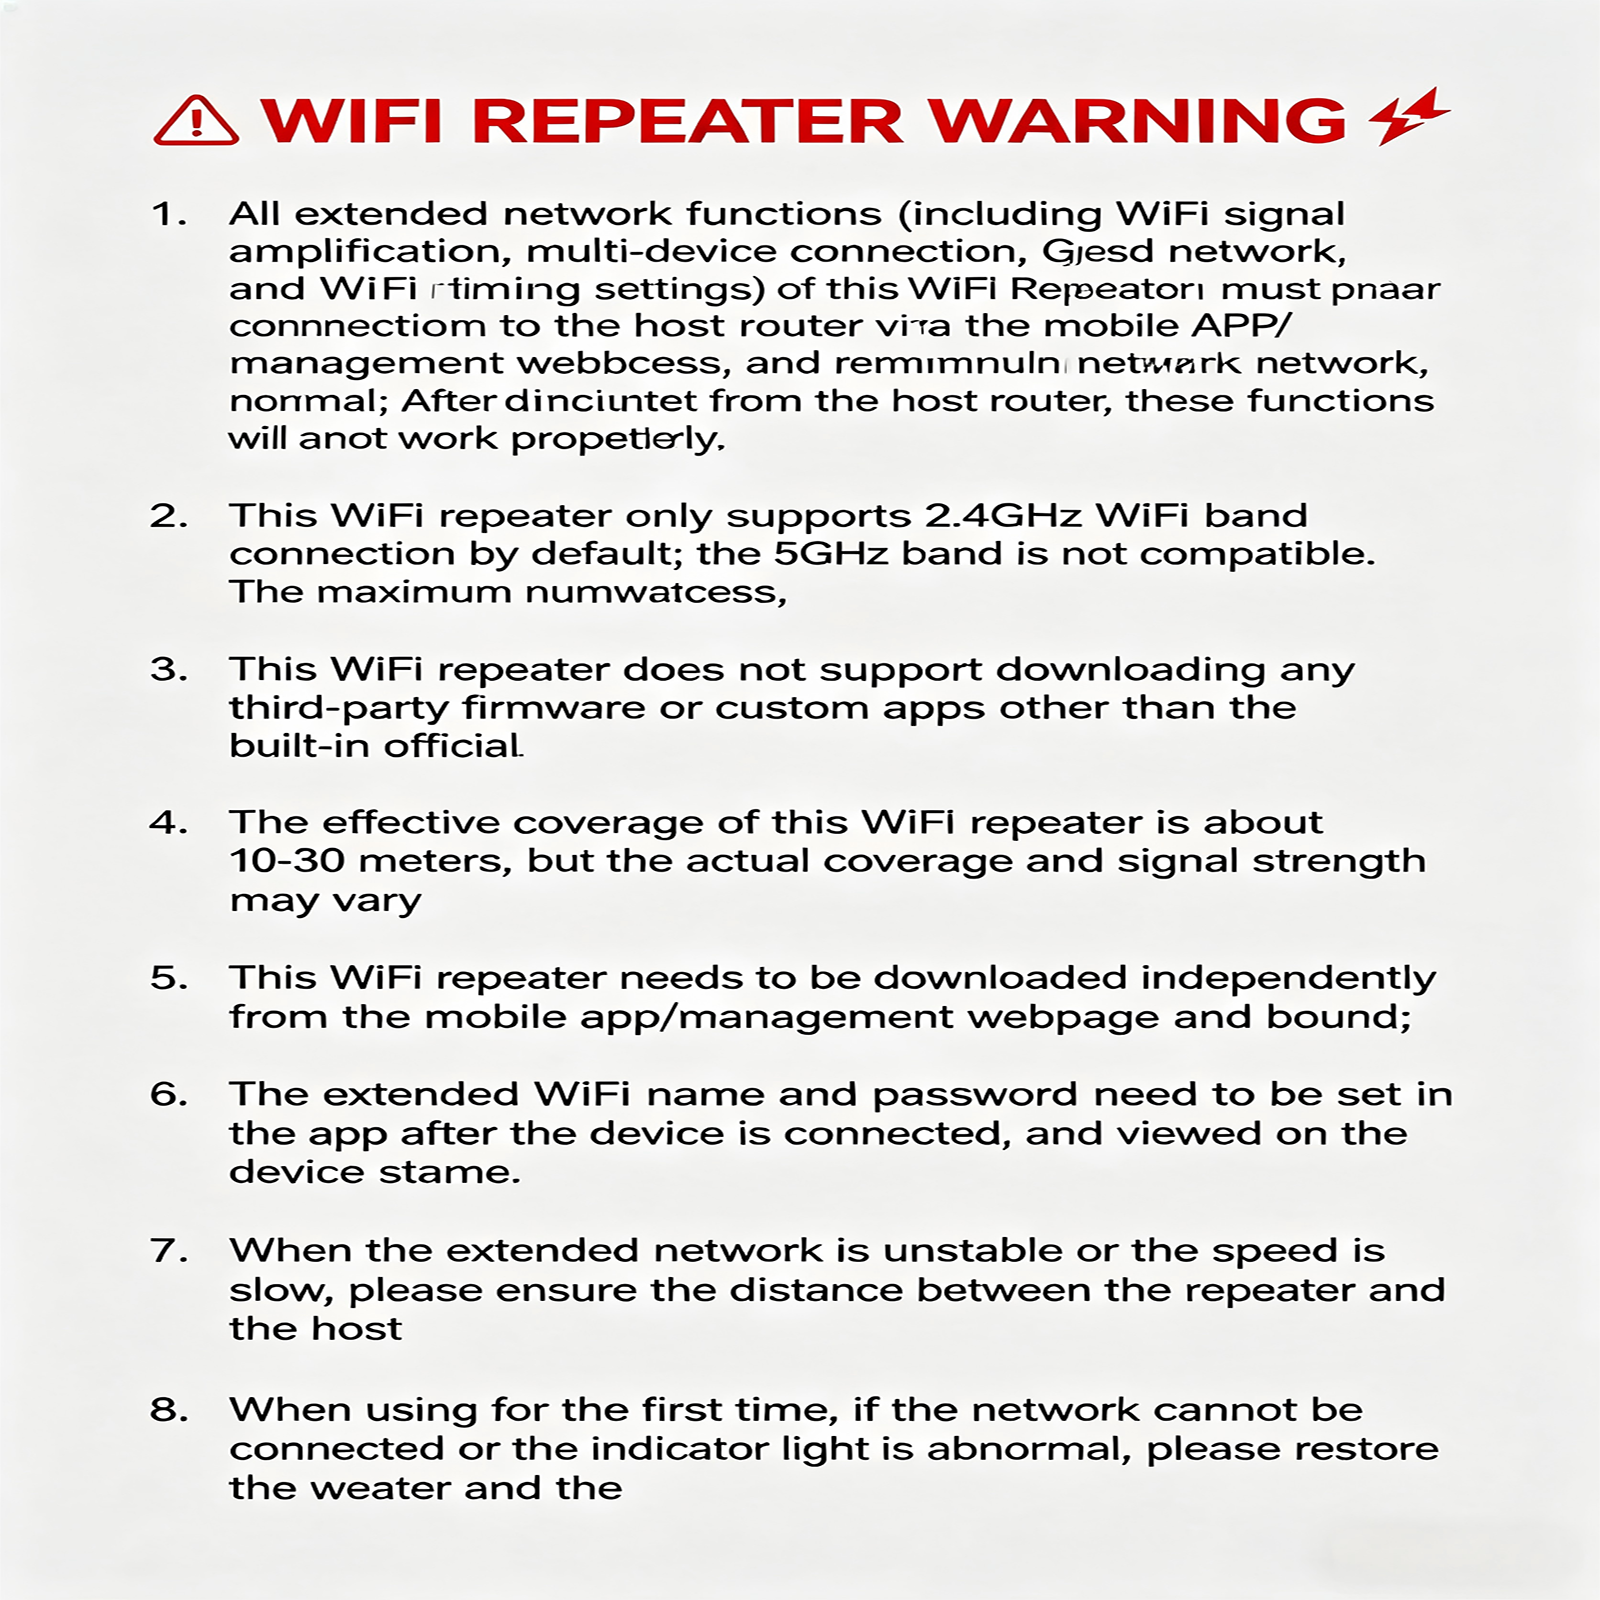
This device only extends WiFi coverage and does not increase broadband bandwidth.
Do not use the extender outdoors in rain, high temperatures, or dusty environments.
Slow speed after extension: Usually caused by weak signal or interference. Adjust placement.
Cannot find extended WiFi: Reset and reconfigure; check if the main router works normally.
Frequent disconnections: Keep away from interference, restart both router and extender, and verify password correctness.
8. Summary
The WiFi 6 dual-band wireless extender is easy to operate and highly practical, effectively improving insufficient WiFi coverage and weak signals. With proper placement, reasonable configuration, and regular maintenance, the device can run stably for a long time, providing full-home high-speed and seamless internet access for daily entertainment, office work, and smart home connections.
- Free 30-Day Returns
- Full Refund for Damaged or Incorrect Items
- Guaranteed Delivery or Money Back
- Secure Checkout & Fast Support

WiFi 6 Wireless Extender User Guide
1. Product Overview
The WiFi 6 dual-band wireless extender is a signal amplification device supporting 2.4GHz and 5GHz dual bands with a maximum speed of 1200Mbps. It is specially designed to solve common WiFi problems such as weak signals, dead zones, and unstable network speeds in homes, offices, shops, and other scenarios. By receiving and amplifying the signal from your existing wireless router, this extender extends WiFi coverage over long distances, ensuring stable internet connection in previously unreachable areas such as bedrooms, balconies, bathrooms, and corridors.
Adopting advanced WiFi 6 technology, the extender delivers lower latency, stronger anti-interference capability, and more stable connections for multiple devices. It is widely compatible with mobile phones, computers, TVs, smart home devices, and other wireless terminals. The device features plug-and-play functionality, allowing users to complete setup quickly without professional network knowledge.
2. Pre-Installation Preparation
Before use, please check that the device and accessories are intact, including the main extender unit and this user manual. Place the extender between your main router and the WiFi dead zone to ensure it can stably receive the router’s signal. Avoid placing the device near metal obstructions, thick walls, microwaves, induction cookers, cordless phones, or other strong interference sources, as these may weaken signal quality and reduce network speed.
The installation environment should be dry, ventilated, cool, and free from high temperatures or moisture to prevent equipment damage and ensure stable performance.
3. Two Configuration Methods
(1) WPS One-Button Connection (Recommended)
Plug the extender into a power socket near your main router and wait for the indicator light to turn on, entering pairing mode.
Press the WPS button on your main router within 1 minute; the WPS light will usually flash rapidly.
Immediately press the WPS button on the extender and wait for automatic connection.
When the indicator light turns solid green or blue, pairing is successful.
Unplug the extender and move it to your ideal position for full signal coverage. This method requires no password input and is suitable for users unfamiliar with network settings.
(2) Web Management Setup (Compatible with All Routers)
Connect your phone or computer to the extender’s default WiFi name (printed on the device label).
Open a browser and enter the management IP address (usually 192.168.x.x) or scan the QR code in the manual.
Log in with the default administrator password to enter the setup wizard.
Select your main router’s WiFi name and enter the correct WiFi password.
Set the extended WiFi name and password. Using the same name and password as your main router supports seamless roaming.
Save settings and wait for the device to reboot. A steady indicator light means setup is complete.
4. Usage and Placement Tips
Proper placement directly determines WiFi performance. The best location is the midpoint between the router and the weak-signal area, ensuring strong reception and effective amplification. Placing it too far causes slow speeds and frequent disconnections; placing it too close limits coverage.
For dual-band usage:
Connect to the 5GHz band for short distances and high-speed demand (faster speed, lower latency).
Connect to the 2.4GHz band for long distances and wall penetration (more stable, stronger coverage).
The extender supports simultaneous connections of multiple devices. For optimal stability, power-cycle the extender every 7 to 15 days.
5. Indicator Light Status
Solid power light: Device powered on normally.
Flashing light: Booting or connecting.
Solid green/blue light: Successfully connected, good signal.
Flashing red or solid yellow light: Weak signal; move closer to the router.
All lights off: Check power supply or device damage.
6. Factory Reset
If you forget the password, misconfigure settings, cannot connect, or change the usage environment, perform a reset:
Use a pin or toothpick to press and hold the Reset hole for 8–10 seconds until all lights flash. Release the button, and the device will restore to factory defaults. All previous settings will be erased, and you may reconfigure it.
7. Warnings and Troubleshooting
This device only extends WiFi coverage and does not increase broadband bandwidth.
Do not use the extender outdoors in rain, high temperatures, or dusty environments.
Slow speed after extension: Usually caused by weak signal or interference. Adjust placement.
Cannot find extended WiFi: Reset and reconfigure; check if the main router works normally.
Frequent disconnections: Keep away from interference, restart both router and extender, and verify password correctness.
8. Summary
The WiFi 6 dual-band wireless extender is easy to operate and highly practical, effectively improving insufficient WiFi coverage and weak signals. With proper placement, reasonable configuration, and regular maintenance, the device can run stably for a long time, providing full-home high-speed and seamless internet access for daily entertainment, office work, and smart home connections.
WiFi 6 Wireless Extender User Guide
1. Product Overview
The WiFi 6 dual-band wireless extender is a signal amplification device supporting 2.4GHz and 5GHz dual bands with a maximum speed of 1200Mbps. It is specially designed to solve common WiFi problems such as weak signals, dead zones, and unstable network speeds in homes, offices, shops, and other scenarios. By receiving and amplifying the signal from your existing wireless router, this extender extends WiFi coverage over long distances, ensuring stable internet connection in previously unreachable areas such as bedrooms, balconies, bathrooms, and corridors.
Adopting advanced WiFi 6 technology, the extender delivers lower latency, stronger anti-interference capability, and more stable connections for multiple devices. It is widely compatible with mobile phones, computers, TVs, smart home devices, and other wireless terminals. The device features plug-and-play functionality, allowing users to complete setup quickly without professional network knowledge.
2. Pre-Installation Preparation
Before use, please check that the device and accessories are intact, including the main extender unit and this user manual. Place the extender between your main router and the WiFi dead zone to ensure it can stably receive the router’s signal. Avoid placing the device near metal obstructions, thick walls, microwaves, induction cookers, cordless phones, or other strong interference sources, as these may weaken signal quality and reduce network speed.
The installation environment should be dry, ventilated, cool, and free from high temperatures or moisture to prevent equipment damage and ensure stable performance.
3. Two Configuration Methods
(1) WPS One-Button Connection (Recommended)
Plug the extender into a power socket near your main router and wait for the indicator light to turn on, entering pairing mode.
Press the WPS button on your main router within 1 minute; the WPS light will usually flash rapidly.
Immediately press the WPS button on the extender and wait for automatic connection.
When the indicator light turns solid green or blue, pairing is successful.
Unplug the extender and move it to your ideal position for full signal coverage. This method requires no password input and is suitable for users unfamiliar with network settings.
(2) Web Management Setup (Compatible with All Routers)
Connect your phone or computer to the extender’s default WiFi name (printed on the device label).
Open a browser and enter the management IP address (usually 192.168.x.x) or scan the QR code in the manual.
Log in with the default administrator password to enter the setup wizard.
Select your main router’s WiFi name and enter the correct WiFi password.
Set the extended WiFi name and password. Using the same name and password as your main router supports seamless roaming.
Save settings and wait for the device to reboot. A steady indicator light means setup is complete.
4. Usage and Placement Tips
Proper placement directly determines WiFi performance. The best location is the midpoint between the router and the weak-signal area, ensuring strong reception and effective amplification. Placing it too far causes slow speeds and frequent disconnections; placing it too close limits coverage.
For dual-band usage:
Connect to the 5GHz band for short distances and high-speed demand (faster speed, lower latency).
Connect to the 2.4GHz band for long distances and wall penetration (more stable, stronger coverage).
The extender supports simultaneous connections of multiple devices. For optimal stability, power-cycle the extender every 7 to 15 days.
5. Indicator Light Status
Solid power light: Device powered on normally.
Flashing light: Booting or connecting.
Solid green/blue light: Successfully connected, good signal.
Flashing red or solid yellow light: Weak signal; move closer to the router.
All lights off: Check power supply or device damage.
6. Factory Reset
If you forget the password, misconfigure settings, cannot connect, or change the usage environment, perform a reset:
Use a pin or toothpick to press and hold the Reset hole for 8–10 seconds until all lights flash. Release the button, and the device will restore to factory defaults. All previous settings will be erased, and you may reconfigure it.
7. Warnings and Troubleshooting
This device only extends WiFi coverage and does not increase broadband bandwidth.
Do not use the extender outdoors in rain, high temperatures, or dusty environments.
Slow speed after extension: Usually caused by weak signal or interference. Adjust placement.
Cannot find extended WiFi: Reset and reconfigure; check if the main router works normally.
Frequent disconnections: Keep away from interference, restart both router and extender, and verify password correctness.
8. Summary
The WiFi 6 dual-band wireless extender is easy to operate and highly practical, effectively improving insufficient WiFi coverage and weak signals. With proper placement, reasonable configuration, and regular maintenance, the device can run stably for a long time, providing full-home high-speed and seamless internet access for daily entertainment, office work, and smart home connections.
Processing Time
- We process and ship orders Monday through Friday, excluding holidays.
- Most orders are processed within 1–3 business days, depending on product availability.
- Processing time does not include delivery time, which varies based on your location and the product’s shipping origin.
Shipping Coverage
We currently ship to addresses within the United States only.
Products may ship from:
- Our U.S. warehouses, or
- Our international fulfillment centers (including Korea, Japan, China, Australia, Mexico, Canada, the United Kingdom, and the EU).
Each product page clearly displays the “Ships From” location before checkout.
Shipping Methods & Estimated Delivery
| Shipping Method | Estimated Delivery | Cost |
|---|---|---|
| Free Shipping (US) | 5–10 business days | Free, available on eligible items |
| Standard Shipping (US to US by Item) | 5–10 business days | $5.95 for the first item, $3.00 each additional |
| Standard Shipping (From US Warehouse by Weight) | 3–7 business days | Starts at $5.95, increasing by $2 for every additional 4 oz (0.25 lb) up to 1 lb, then by $4 for each additional pound beyond 1 lb. |
| Extended Delivery (Ships from Overseas Warehouse) | 10–20 business days | $14.99 for the first item, $2.00 each additional |
Shipping costs vary by product weight, quantity and origin. Exact rates and delivery estimates are displayed on each product page and confirmed during checkout.
Free Shipping
We offer free standard shipping on select products or during promotional periods. Availability of free shipping will be displayed on the product page and at checkout.
Carriers
We primarily use USPS and UPS for U.S. deliveries. Items shipped from international warehouses may be handled by partner carriers depending on the country of origin.
Import Duties & Taxes
All import duties and taxes for goods imported into the United States are included in the product price. There are no hidden fees or additional charges at checkout.
Tracking & Notifications
Every order is fully trackable. You will receive a tracking number via email once your order ships. If your order ships in multiple packages, each package will have its own tracking number. If you don’t receive a shipping confirmation immediately, your order is still being processed and will arrive within the estimated timeframe shown at checkout.
You can track your shipment anytime using the Track Your Order page on our website.
Order Changes & Cancellations
If you need to modify or cancel an order, please contact our customer support team as soon as possible. Orders can only be canceled before they ship. Once shipped, cancellations are not possible, but you may request a return after the item is delivered.
Contact: support@ibspot.com
Item Not Received
If your tracking number shows “Delivered” but you haven’t received your package:
- Check with your local USPS or UPS office.
- Confirm that the shipping address provided was correct.
- If the issue remains unresolved, contact support@ibspot.com for assistance.
Damaged or Lost Parcels
If your package arrives damaged or fails to arrive, please contact us immediately. For deliveries to P.O. boxes, ibspot is not responsible for damage caused by weather, temperature, or theft.
Customer Support
For any questions about shipping, tracking, or delivery, our customer support team is here to help.
Email: support@ibspot.com
We’re always happy to help.
Please read our policy carefully before making a purchase.
We aim to ensure every customer has a smooth and transparent experience with ibspot.com.
Order Cancellation Policy
Customers may request to cancel an order before it has been shipped.
Once the package has been shipped, cancellations are no longer possible; however, you may still request a return after receiving your order.
How to Request a Cancellation
You can contact us through:
- Email: support@ibspot.com
- Contact Form: Submit a request through our Contact Us page
Please submit your cancellation request as soon as possible after placing the order to allow us to process it before shipment.
Return Policy
We accept returns for most items within 30 days of delivery for a full refund.
To be eligible for a return:
- The item must be unused, in the same condition as received, and in its original packaging.
- A tracking number must be provided to confirm the return shipment.
Non-Returnable Items
Certain products cannot be returned, including:
- Perishable goods (for example, food, flowers, newspapers, magazines)
- Intimate or sanitary goods
- Hazardous materials or flammable liquids/gases
- Gift cards
- Downloadable software
- Some health and personal care items
Partial Refunds (If Applicable)
Partial refunds may be granted in specific situations, such as:
- Books with obvious signs of use
- Opened CDs, DVDs, software, or vinyl records
- Items not in their original condition, damaged, or missing parts not due to our error
- Items returned more than 30 days after delivery
How to Return an Item
To initiate a return, please contact us at support@ibspot.com with your order number and details about the product you wish to return.
Our team will provide you with return instructions and a prepaid return label.
Shipping Cost for Returns
Please contact us before returning any item.
We may provide a return shipping label for your return. If the return is due to our error, such as receiving the wrong item, a damaged item, or a defective product, we will cover the return shipping cost.
If the return is due to the customer’s reason, such as ordering the wrong item, changing your mind, or no longer needing the item, the original shipping fee and the return label fee will be deducted from your refund amount.
If a return is sent back without prior contact or without using our provided label, we cannot be held responsible for any return shipping costs or delivery issues.
For items valued over $75, we recommend using a trackable shipping service or purchasing shipping insurance.
We cannot guarantee that we will receive your returned item if shipped independently.
Refund Processing
Once your return is received and inspected:
- In-store returns are refunded to the original form of payment or issued as a gift card.
- Mail-in returns using our prepaid label are refunded to the original payment method within 3–5 business days after we receive your return.
Please allow:
- 5–7 business days for the return to reach our Returns Center.
- An additional 3–10 business days for your bank to post the refund to your account.
Damages, Issues & Claims
Please inspect your order immediately upon receipt.
If you receive a defective, damaged, or incorrect item, contact us right away at support@ibspot.com.
We’ll evaluate the issue promptly and make it right.
Product Claims
Before purchasing, please review product details carefully.
If there is a problem with your order upon arrival, visit our Support Center or contact us directly to arrange return shipping or replacement.
Exchanges
We do not process direct exchanges.
The fastest way to get what you need is to return the original item and place a new order once your return is accepted.
Return Address
IBSPOT Return Center
15 Sawmill Ln
Dover Plains, NY 12522
United States
Customer Support
Our support team is available 24/7 to assist with cancellations, returns, or general inquiries.
Email: support@ibspot.com
Contact Form: Contact Us page
Oops!
Sorry, it looks like some products are not available in selected quantity.