

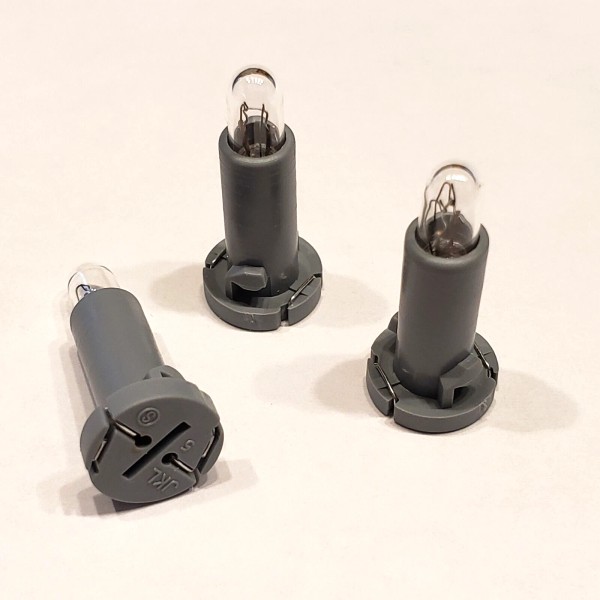
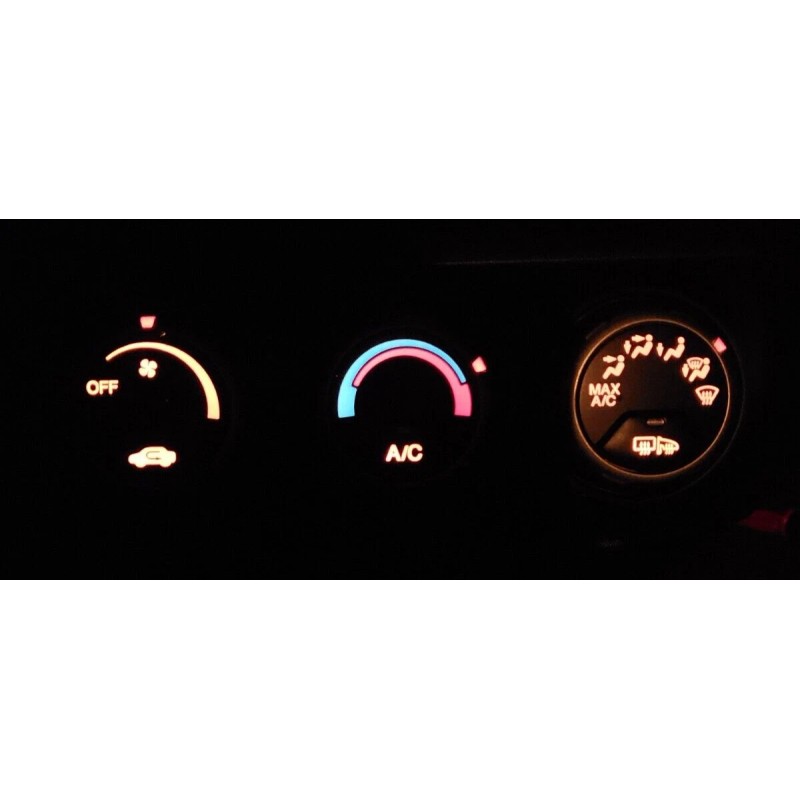
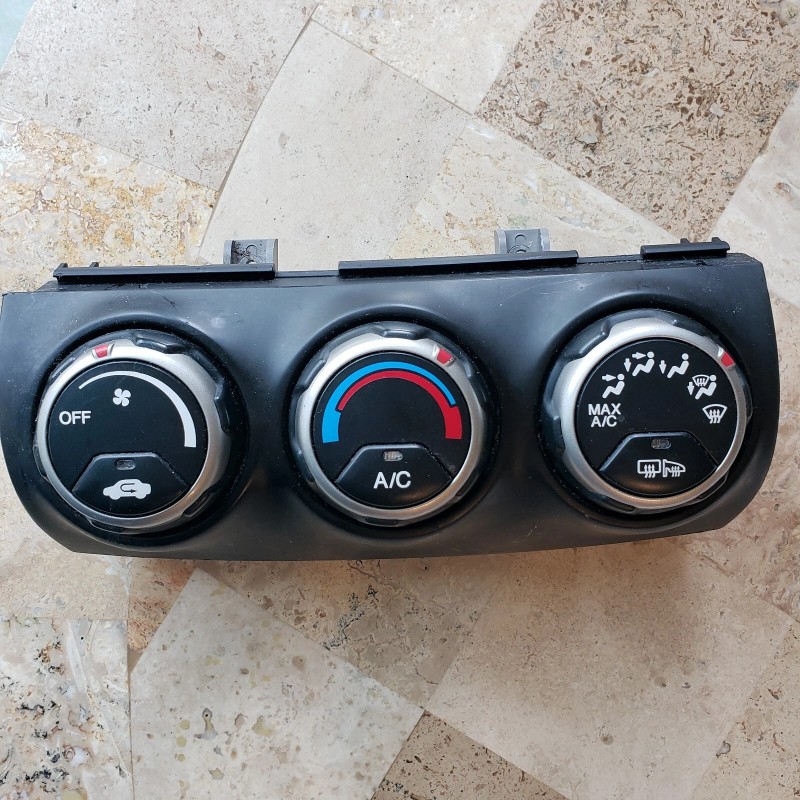
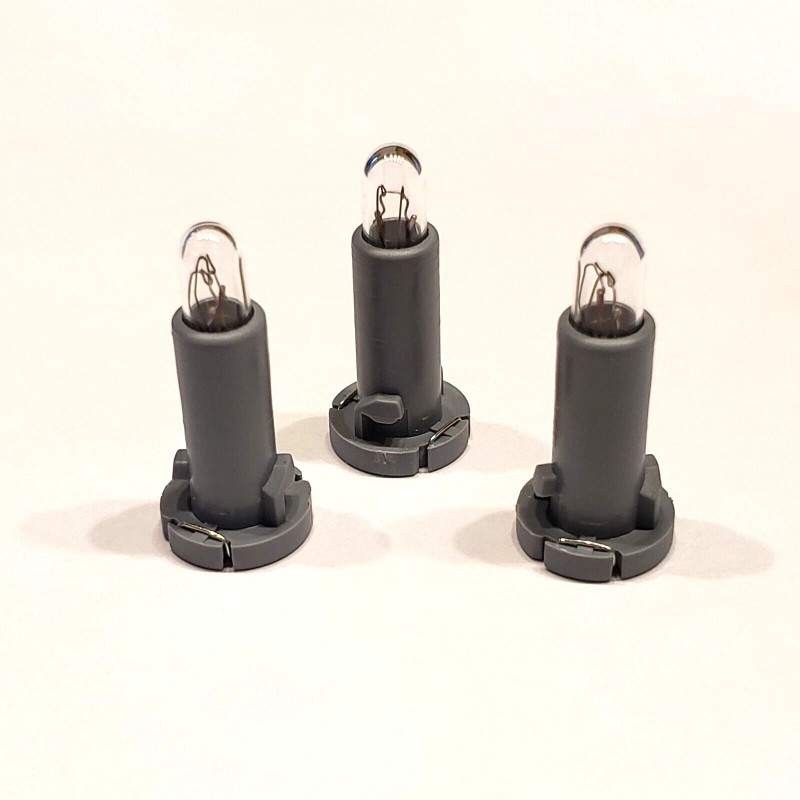


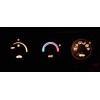
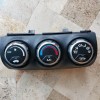

JKL Components Corp Honda Climate Control Light Bulb Repair Kit for 02-06 CR-V 3 Lamps 79670-SL0-A01
$45.79
- Free US shipping
-
Arrives
- 2002-2006 CR-V
- 2003-2005 Pilot (manual climate control only)
- 2000-2009 S2000
- 1995-1998 Odyssey
You'll just need a couple of flat-blade screwdrivers and a #2 Phillips screwdriver.
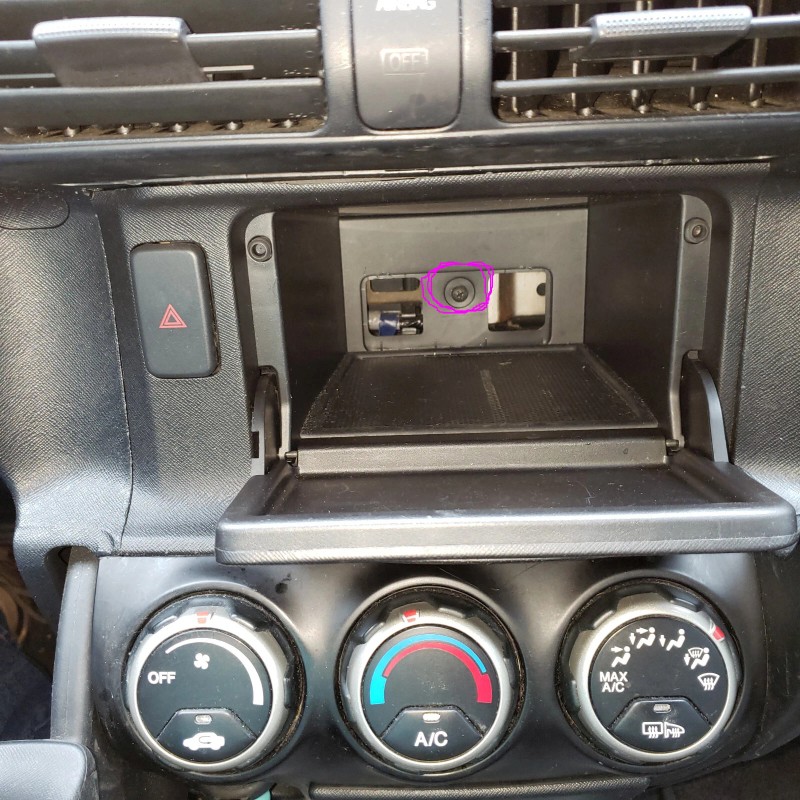
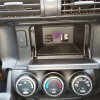
- Use 2 flat-blade screwdrivers (one in each hand) to pry out the cover in the back of the storage bin.
- Set the emergency brake (so the handle is out of the way).
- Remove the Phillips screw, then pull the bin straight out, just until it's loose.
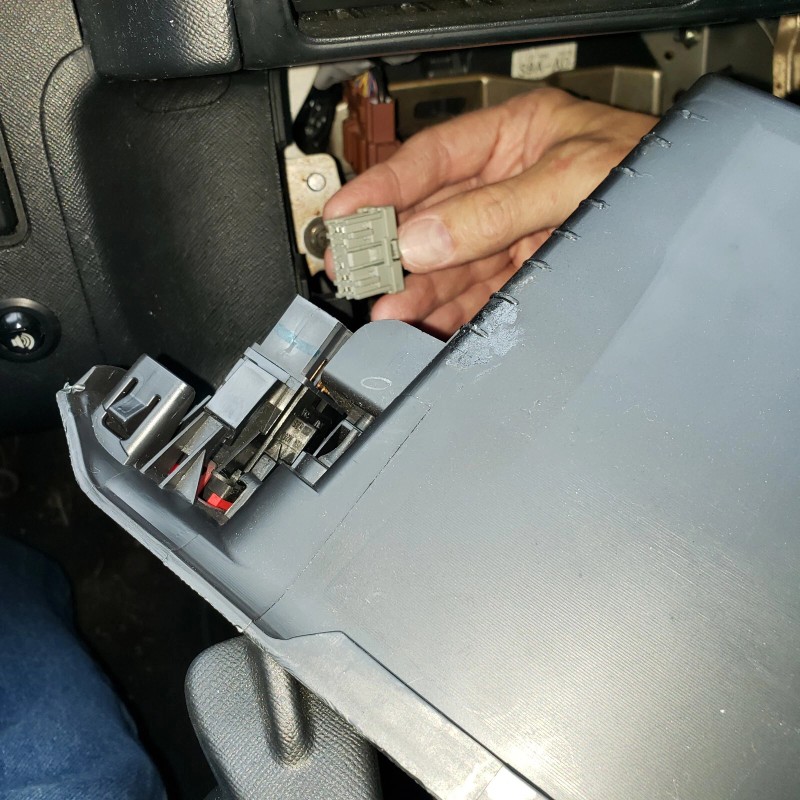
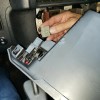
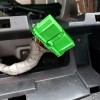
- Unplug the emergency flasher switch, gray connector--the connector latch (by my thumb in the photo) is on the side toward the bin--small hands or long fingers! You must squeeze the connector to unlatch it, then it comes right out; don't pull hard.
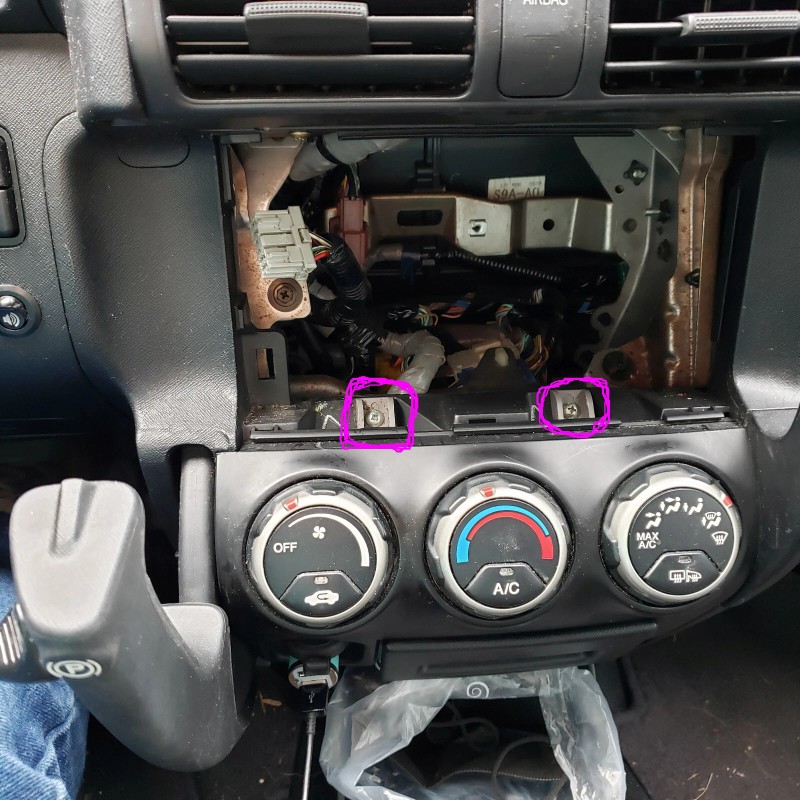
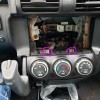
- Remove the two Phillips screws now exposed just above the climate control unit.
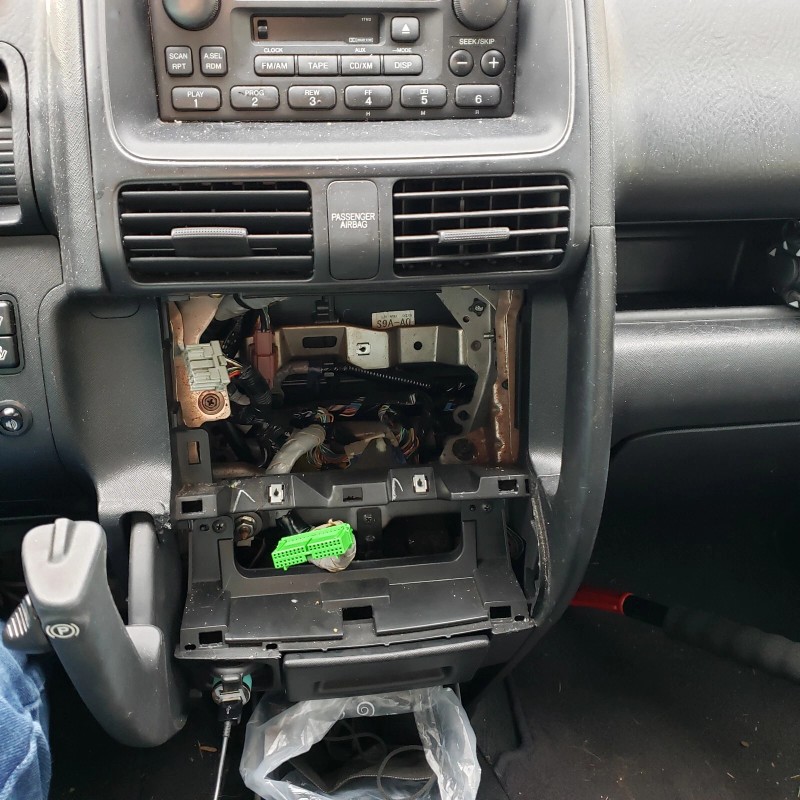
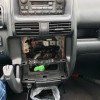
- Pull the climate control unit straight out, just until it's loose. There are tabs that hold it in on either side--if it's never been out, you may have to pull fairly hard.
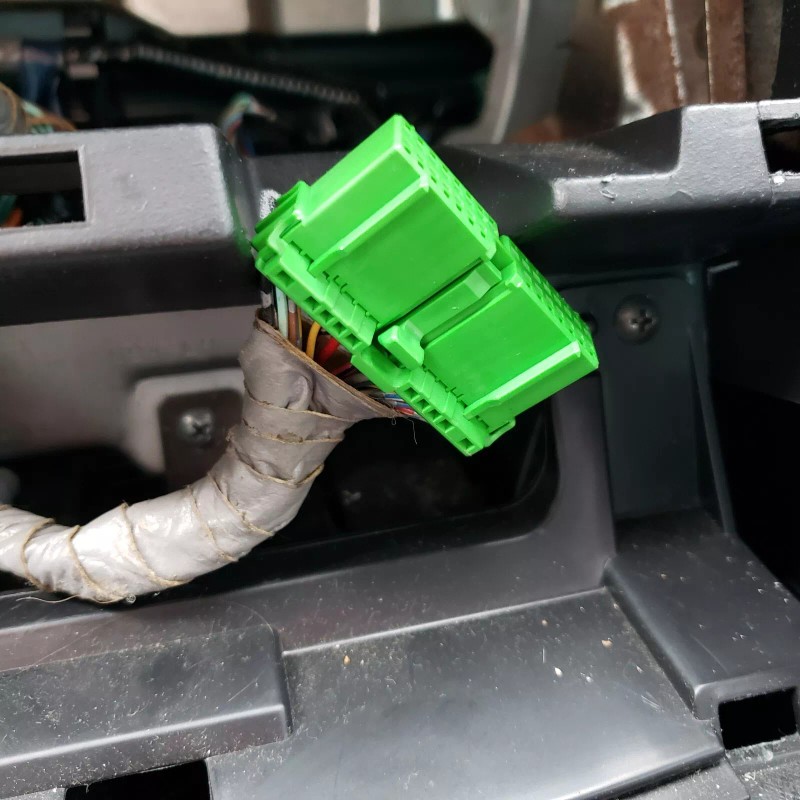
- Unplug the green connector--it has a latch, similar to the gray one--then remove the climate control unit from the car.
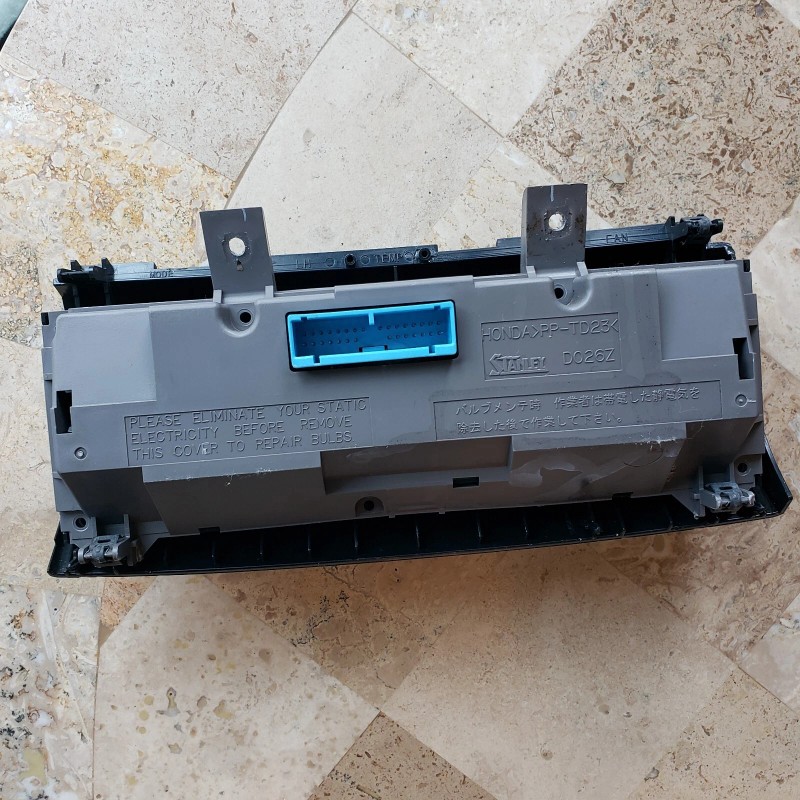
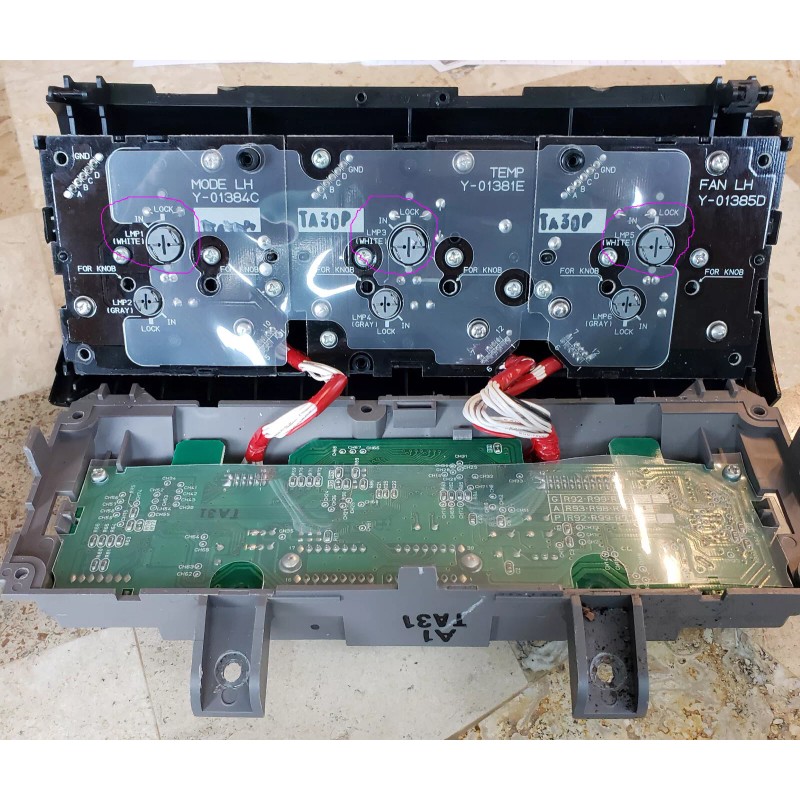
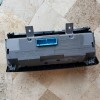
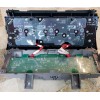
- On a padded table, remove the 7 screws holding the back on the climate control unit, then gently remove (fold open) the back. The white wires will keep the two pieces together.
- Remove the 3 lamps by turning them counterclockwise 1/8 turn with a flat-blade screwdriver and pulling them out.
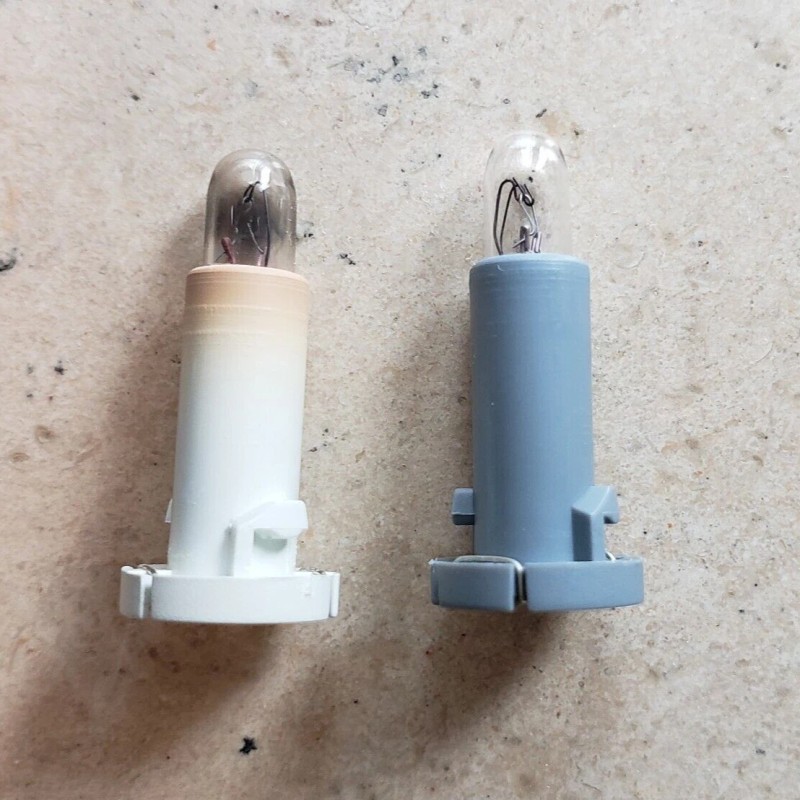
- Install the new lamps by inserting them and turning clockwise 1/8 turn--they'll turn kind of hard--the screwdriver slot will be vertical when they're correctly installed.
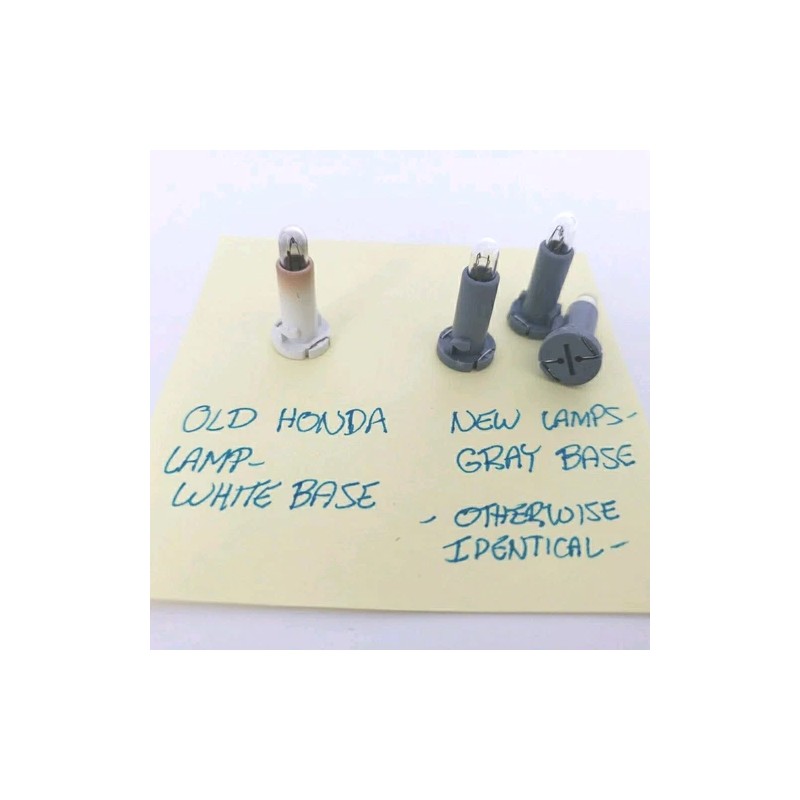
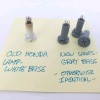
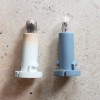
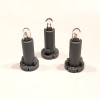
- The 3 lamps are labeled LMP1, LMP3, & LMP5; your old lamps will likely have white bases.
- Reverse the above steps to reassemble.
- Free 30-Day Returns
- Full Refund for Damaged or Incorrect Items
- Guaranteed Delivery or Money Back
- Secure Checkout & Fast Support

- 2002-2006 CR-V
- 2003-2005 Pilot (manual climate control only)
- 2000-2009 S2000
- 1995-1998 Odyssey
You'll just need a couple of flat-blade screwdrivers and a #2 Phillips screwdriver.
- Use 2 flat-blade screwdrivers (one in each hand) to pry out the cover in the back of the storage bin.
- Set the emergency brake (so the handle is out of the way).
- Remove the Phillips screw, then pull the bin straight out, just until it's loose.
- Unplug the emergency flasher switch, gray connector--the connector latch (by my thumb in the photo) is on the side toward the bin--small hands or long fingers! You must squeeze the connector to unlatch it, then it comes right out; don't pull hard.
- Remove the two Phillips screws now exposed just above the climate control unit.
- Pull the climate control unit straight out, just until it's loose. There are tabs that hold it in on either side--if it's never been out, you may have to pull fairly hard.
- Unplug the green connector--it has a latch, similar to the gray one--then remove the climate control unit from the car.
- On a padded table, remove the 7 screws holding the back on the climate control unit, then gently remove (fold open) the back. The white wires will keep the two pieces together.
- Remove the 3 lamps by turning them counterclockwise 1/8 turn with a flat-blade screwdriver and pulling them out.
- Install the new lamps by inserting them and turning clockwise 1/8 turn--they'll turn kind of hard--the screwdriver slot will be vertical when they're correctly installed.
- The 3 lamps are labeled LMP1, LMP3, & LMP5; your old lamps will likely have white bases.
- Reverse the above steps to reassemble.
- 2002-2006 CR-V
- 2003-2005 Pilot (manual climate control only)
- 2000-2009 S2000
- 1995-1998 Odyssey
You'll just need a couple of flat-blade screwdrivers and a #2 Phillips screwdriver.
- Use 2 flat-blade screwdrivers (one in each hand) to pry out the cover in the back of the storage bin.
- Set the emergency brake (so the handle is out of the way).
- Remove the Phillips screw, then pull the bin straight out, just until it's loose.
- Unplug the emergency flasher switch, gray connector--the connector latch (by my thumb in the photo) is on the side toward the bin--small hands or long fingers! You must squeeze the connector to unlatch it, then it comes right out; don't pull hard.
- Remove the two Phillips screws now exposed just above the climate control unit.
- Pull the climate control unit straight out, just until it's loose. There are tabs that hold it in on either side--if it's never been out, you may have to pull fairly hard.
- Unplug the green connector--it has a latch, similar to the gray one--then remove the climate control unit from the car.
- On a padded table, remove the 7 screws holding the back on the climate control unit, then gently remove (fold open) the back. The white wires will keep the two pieces together.
- Remove the 3 lamps by turning them counterclockwise 1/8 turn with a flat-blade screwdriver and pulling them out.
- Install the new lamps by inserting them and turning clockwise 1/8 turn--they'll turn kind of hard--the screwdriver slot will be vertical when they're correctly installed.
- The 3 lamps are labeled LMP1, LMP3, & LMP5; your old lamps will likely have white bases.
- Reverse the above steps to reassemble.
- Brand: JKL Components Corp
- OE/OEM Part Number: 79670-LS0-A01
- Color: Gray
- Items Included: 3 lamps in bases
- Features: No Drilling or Modifications Needed for Installation
- Country/Region of Manufacture: Thailand
- Universal Fitment: Yes
- Vintage Part: No
- Performance Part: No
Processing Time
- We process and ship orders Monday through Friday, excluding holidays.
- Most orders are processed within 1–3 business days, depending on product availability.
- Processing time does not include delivery time, which varies based on your location and the product’s shipping origin.
Shipping Coverage
We currently ship to addresses within the United States only.
Products may ship from:
- Our U.S. warehouses, or
- Our international fulfillment centers (including Korea, Japan, China, Australia, Mexico, Canada, the United Kingdom, and the EU).
Each product page clearly displays the “Ships From” location before checkout.
Shipping Methods & Estimated Delivery
| Shipping Method | Estimated Delivery | Cost |
|---|---|---|
| Free Shipping (US) | 5–10 business days | Free, available on eligible items |
| Standard Shipping (US to US by Item) | 5–10 business days | $5.95 for the first item, $3.00 each additional |
| Standard Shipping (From US Warehouse by Weight) | 3–7 business days | Starts at $5.95, increasing by $2 for every additional 4 oz (0.25 lb) up to 1 lb, then by $4 for each additional pound beyond 1 lb. |
| Extended Delivery (Ships from Overseas Warehouse) | 10–20 business days | $14.99 for the first item, $2.00 each additional |
Shipping costs vary by product weight, quantity and origin. Exact rates and delivery estimates are displayed on each product page and confirmed during checkout.
Free Shipping
We offer free standard shipping on select products or during promotional periods. Availability of free shipping will be displayed on the product page and at checkout.
Carriers
We primarily use USPS and UPS for U.S. deliveries. Items shipped from international warehouses may be handled by partner carriers depending on the country of origin.
Import Duties & Taxes
All import duties and taxes for goods imported into the United States are included in the product price. There are no hidden fees or additional charges at checkout.
Tracking & Notifications
Every order is fully trackable. You will receive a tracking number via email once your order ships. If your order ships in multiple packages, each package will have its own tracking number. If you don’t receive a shipping confirmation immediately, your order is still being processed and will arrive within the estimated timeframe shown at checkout.
You can track your shipment anytime using the Track Your Order page on our website.
Order Changes & Cancellations
If you need to modify or cancel an order, please contact our customer support team as soon as possible. Orders can only be canceled before they ship. Once shipped, cancellations are not possible, but you may request a return after the item is delivered.
Contact: support@ibspot.com
Item Not Received
If your tracking number shows “Delivered” but you haven’t received your package:
- Check with your local USPS or UPS office.
- Confirm that the shipping address provided was correct.
- If the issue remains unresolved, contact support@ibspot.com for assistance.
Damaged or Lost Parcels
If your package arrives damaged or fails to arrive, please contact us immediately. For deliveries to P.O. boxes, ibspot is not responsible for damage caused by weather, temperature, or theft.
Customer Support
For any questions about shipping, tracking, or delivery, our customer support team is here to help.
Email: support@ibspot.com
We’re always happy to help.
Please read our policy carefully before making a purchase.
We aim to ensure every customer has a smooth and transparent experience with ibspot.com.
Order Cancellation Policy
Customers may request to cancel an order before it has been shipped.
Once the package has been shipped, cancellations are no longer possible; however, you may still request a return after receiving your order.
How to Request a Cancellation
You can contact us through:
- Email: support@ibspot.com
- Contact Form: Submit a request through our Contact Us page
Please submit your cancellation request as soon as possible after placing the order to allow us to process it before shipment.
Return Policy
We accept returns for most items within 30 days of delivery for a full refund.
To be eligible for a return:
- The item must be unused, in the same condition as received, and in its original packaging.
- A tracking number must be provided to confirm the return shipment.
Non-Returnable Items
Certain products cannot be returned, including:
- Perishable goods (for example, food, flowers, newspapers, magazines)
- Intimate or sanitary goods
- Hazardous materials or flammable liquids/gases
- Gift cards
- Downloadable software
- Some health and personal care items
Partial Refunds (If Applicable)
Partial refunds may be granted in specific situations, such as:
- Books with obvious signs of use
- Opened CDs, DVDs, software, or vinyl records
- Items not in their original condition, damaged, or missing parts not due to our error
- Items returned more than 30 days after delivery
How to Return an Item
To initiate a return, please contact us at support@ibspot.com with your order number and details about the product you wish to return.
Our team will provide you with return instructions and a prepaid return label.
Shipping Cost for Returns
Please contact us before returning any item.
We may provide a return shipping label for your return. If the return is due to our error, such as receiving the wrong item, a damaged item, or a defective product, we will cover the return shipping cost.
If the return is due to the customer’s reason, such as ordering the wrong item, changing your mind, or no longer needing the item, the original shipping fee and the return label fee will be deducted from your refund amount.
If a return is sent back without prior contact or without using our provided label, we cannot be held responsible for any return shipping costs or delivery issues.
For items valued over $75, we recommend using a trackable shipping service or purchasing shipping insurance.
We cannot guarantee that we will receive your returned item if shipped independently.
Refund Processing
Once your return is received and inspected:
- In-store returns are refunded to the original form of payment or issued as a gift card.
- Mail-in returns using our prepaid label are refunded to the original payment method within 3–5 business days after we receive your return.
Please allow:
- 5–7 business days for the return to reach our Returns Center.
- An additional 3–10 business days for your bank to post the refund to your account.
Damages, Issues & Claims
Please inspect your order immediately upon receipt.
If you receive a defective, damaged, or incorrect item, contact us right away at support@ibspot.com.
We’ll evaluate the issue promptly and make it right.
Product Claims
Before purchasing, please review product details carefully.
If there is a problem with your order upon arrival, visit our Support Center or contact us directly to arrange return shipping or replacement.
Exchanges
We do not process direct exchanges.
The fastest way to get what you need is to return the original item and place a new order once your return is accepted.
Return Address
IBSPOT Return Center
15 Sawmill Ln
Dover Plains, NY 12522
United States
Customer Support
Our support team is available 24/7 to assist with cancellations, returns, or general inquiries.
Email: support@ibspot.com
Contact Form: Contact Us page
Oops!
Sorry, it looks like some products are not available in selected quantity.