



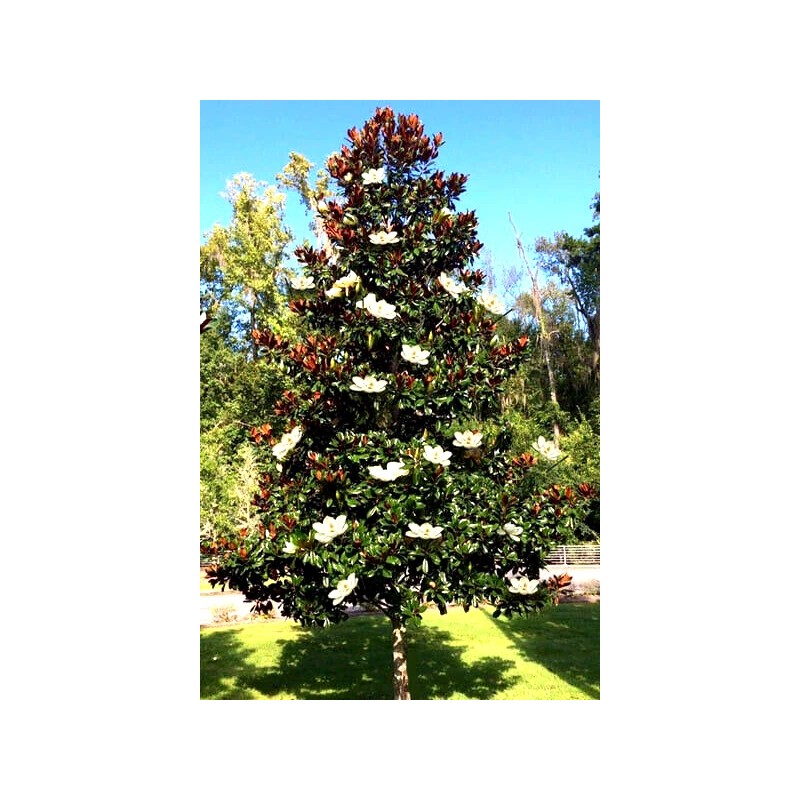
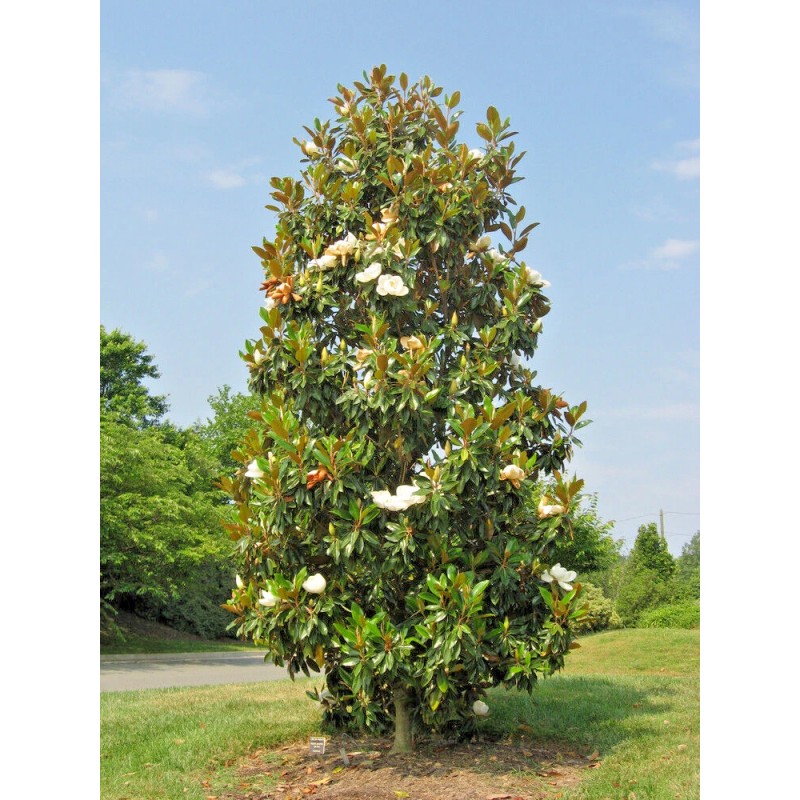

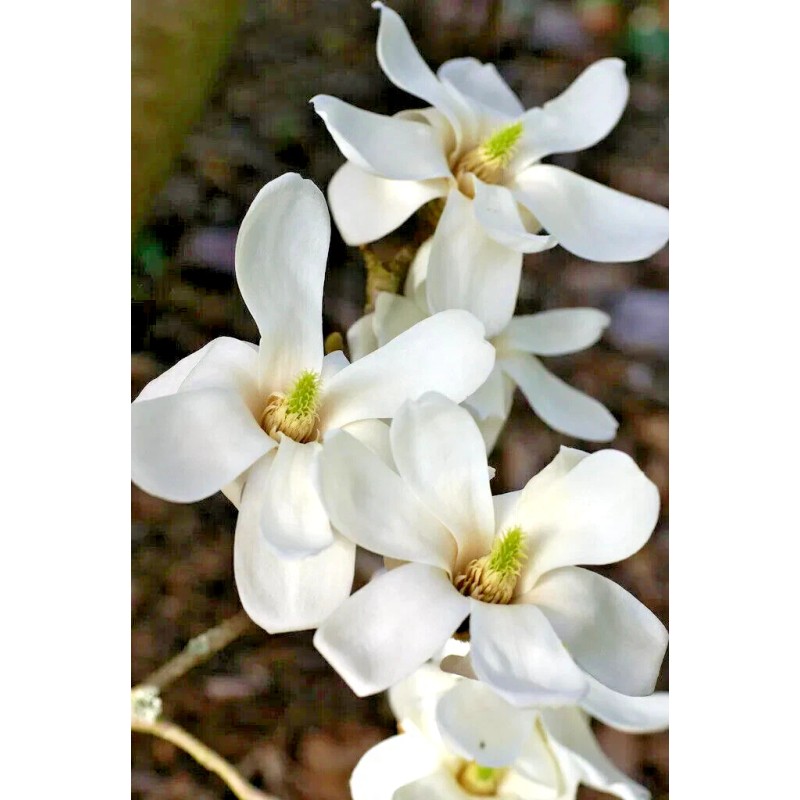
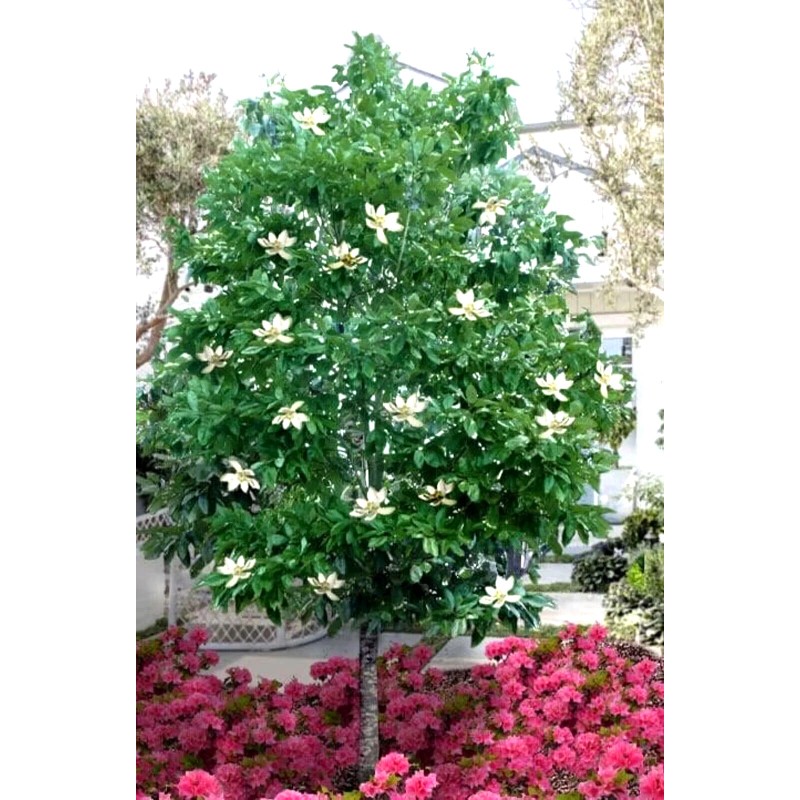
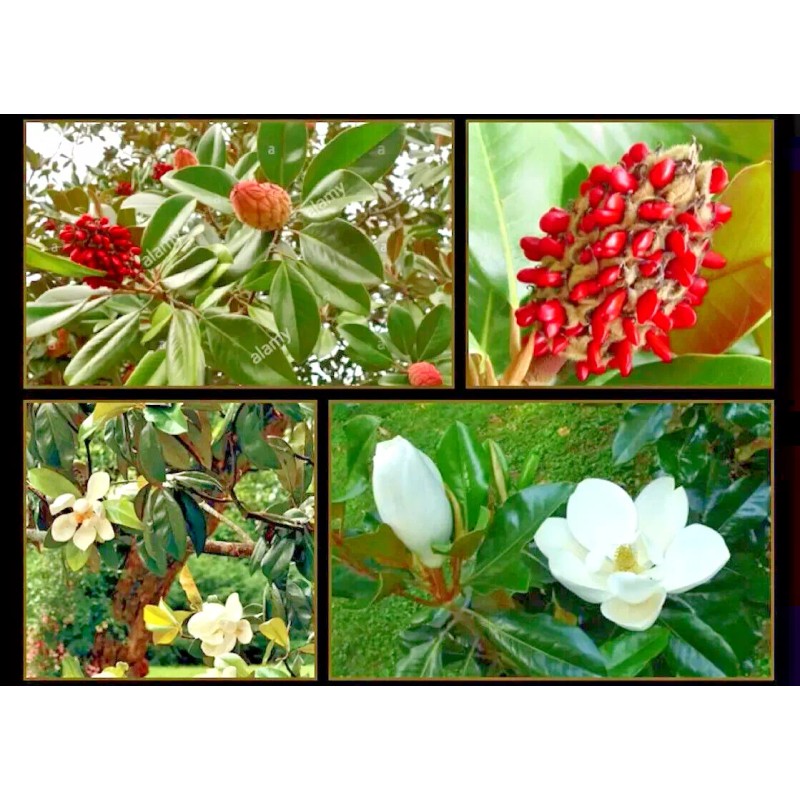
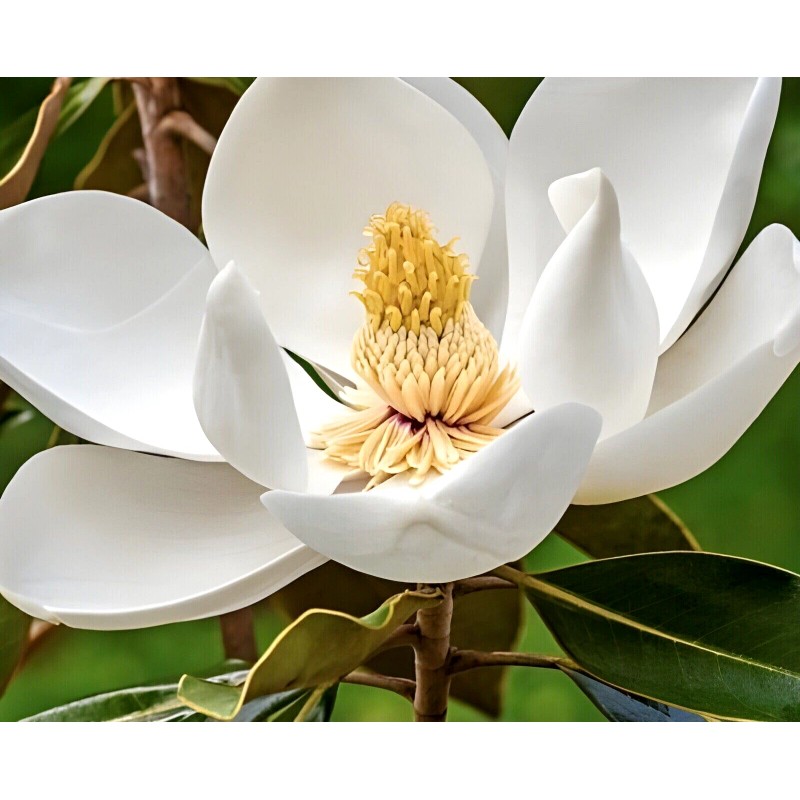
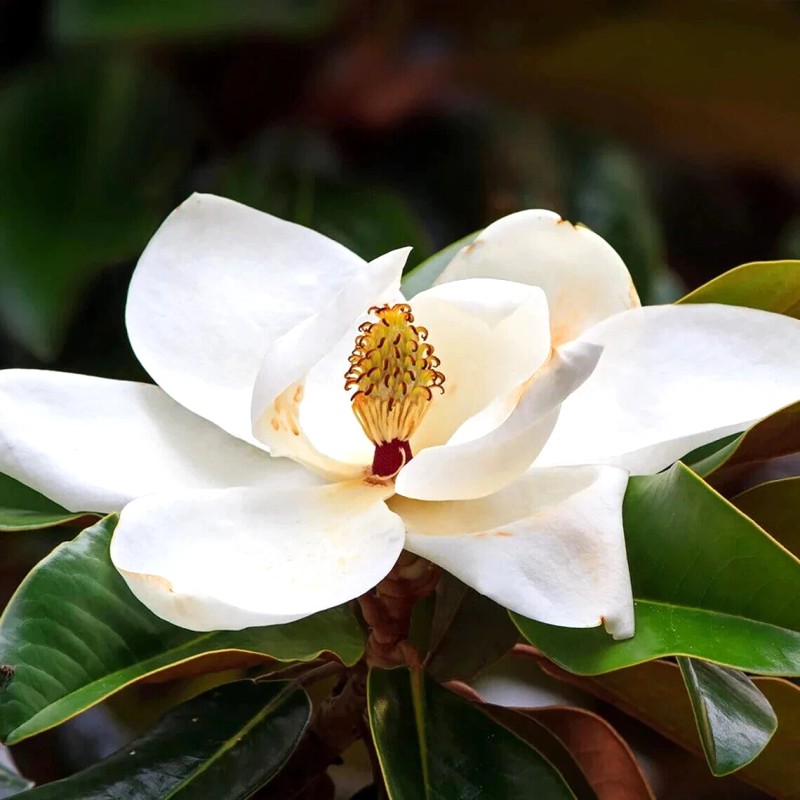
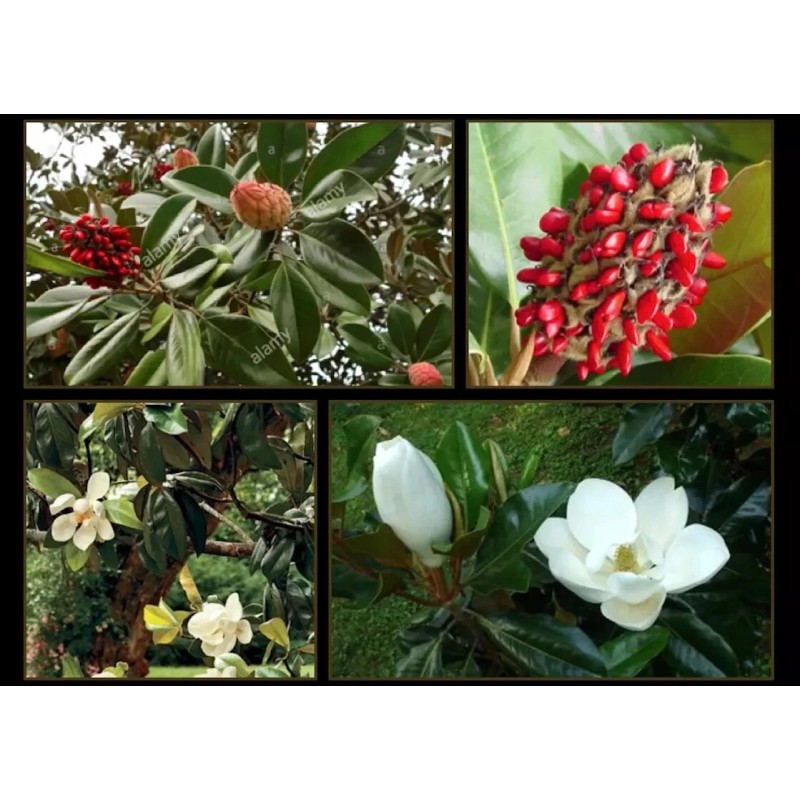
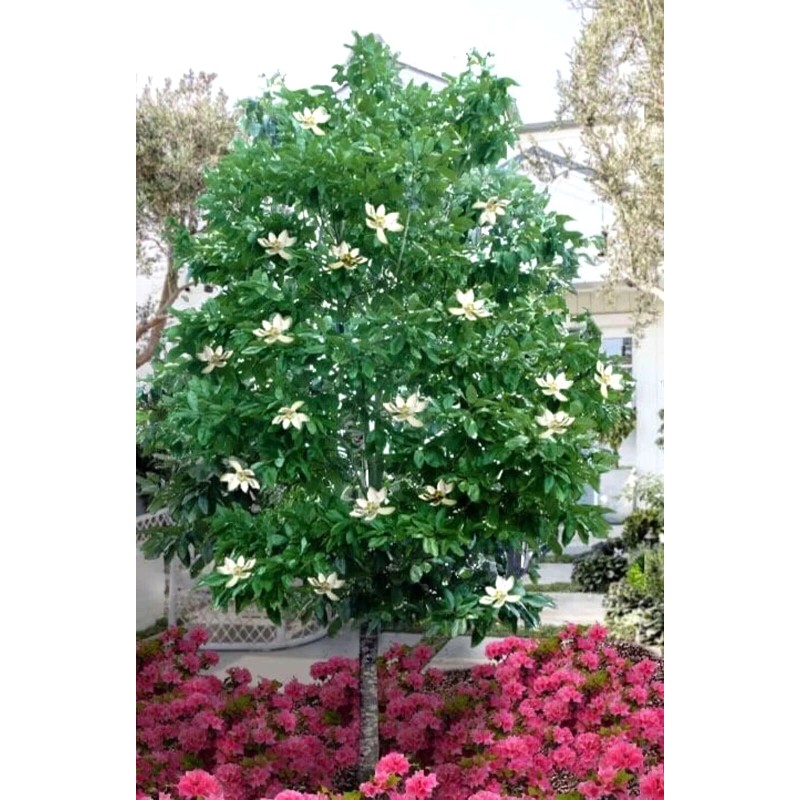
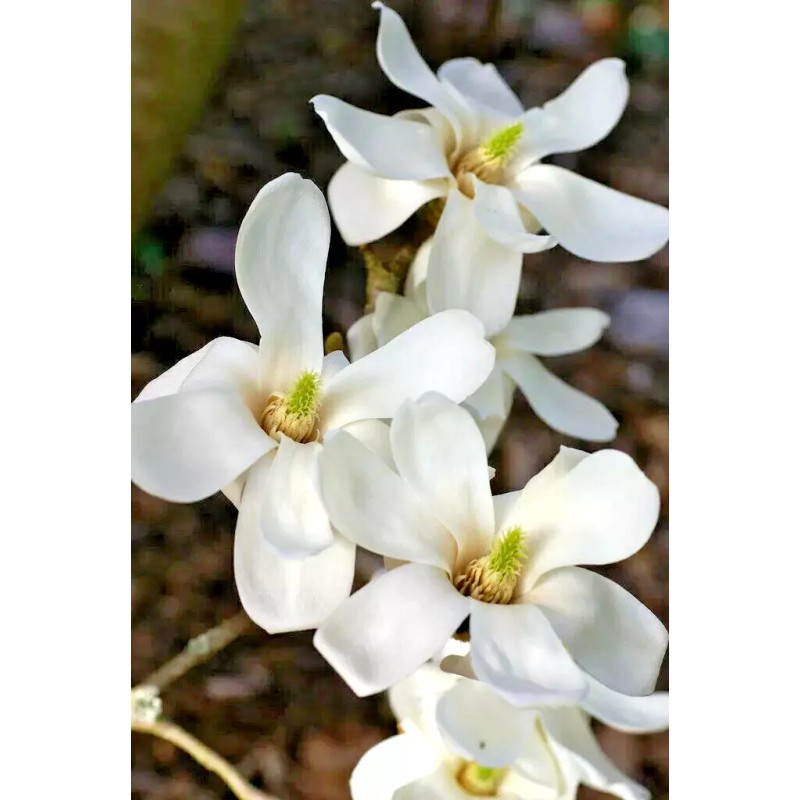

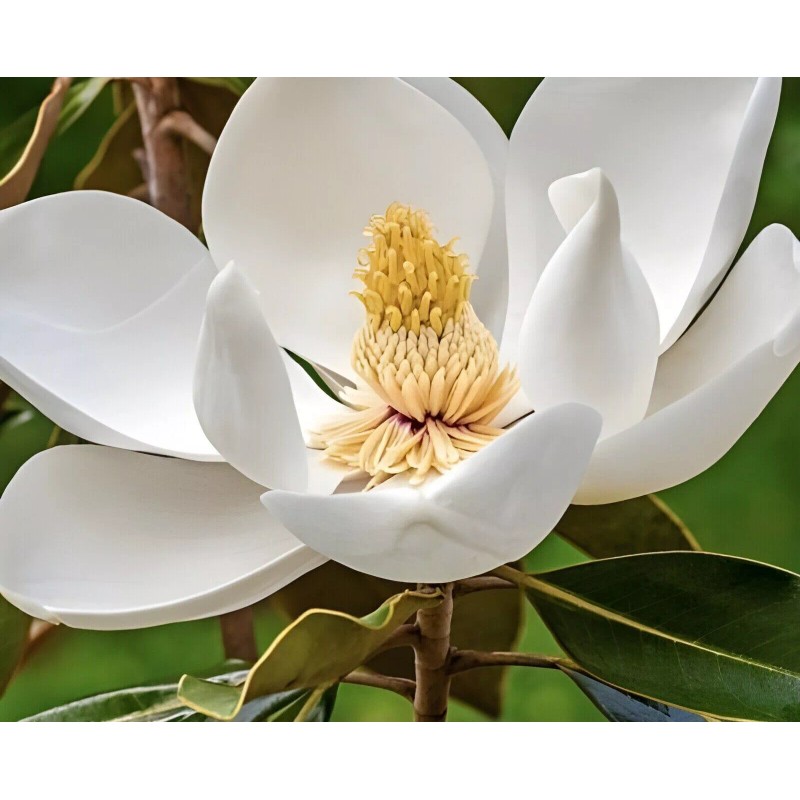




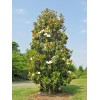









from, My Brooklyn Botanical Garden's Club Southern White Flowering Tulip Lily Magnolia Grandiflora Northern Tree~12 Seeds
$18.49
- Free US shipping
-
Arrives
Magnolias are some of the most beautiful trees in existence, but growing them requires lots of care and patience.
You start the process by letting the seed pods open, carefully storing the seeds, and then germinating the seeds.
However, luckily, the process to grow their seeds is the same across all magnolia tree types.
You should gather your magnolia seed pods between mid-September and mid-October.
Also, unlike other seeds, do not attempt to open the seed pods yourself because they will open on their own when they are ready.
Step Two: Prepare the Seeds
When the pods open, you will see your seeds covered in red flesh.
Once this happens, you can place the seeds in a bowl of warm water for 24 hours to loosen the flesh so you can remove it easily.
Or, you can try rubbing the seeds on a metal screen to make this process easier and faster.
Then, when you’ve gotten off all the flesh, you should remove the oily residue from your bare seeds by washing them with liquid soap.
Also, to help speed up the germination process, you can choose to scar the hard coat of the seeds by rubbing the seeds with sandpaper.
Step Three: Store the Seeds in the Winter
It’s crucial to remember that you will kill your seeds if you store them at room temperature.
So you should instead keep them in a sealed bag at refrigerator temperature.
And, of course, the simplest way to ensure your seeds stay at this temperature is to keep them in the fridge.
But, just make sure that before you store your seeds, you put an equal mixture of river sand, peat moss, and a wrung-out sponge into the storage bag.
Overall, you can store your seeds at refrigerator temperature for up to six months.
Step Four: Germinate the Seeds
A great time to start germinating your magnolia seeds is during the early part of spring.
You should use a seed tray covered in a half-inch of compost soil to plant the seeds.
And don’t forget to mist the soil with water before covering it with plastic wrap.
After you’ve done these steps, you should find a warm place to store the seed tray while you are waiting for the seeds to germinate.
Most magnolia seeds will take between a month to a month and a half to germinate, but some will take longer, so be patient.
Then, when the seeds finally start to germinate, you should remove the plastic wrap and store the tray by a window.
Step Five: Transplant Your Magnolias to a Container
Once the seedlings have germinated and have grown a second set of leaves, it is time to transfer them to their own individual containers.
And normally, you should put your seedlings in three-inch pots that use the same compost soil you used for germination.
However, depending on how quickly your magnolias are growing, a three-inch pot might not have enough room.
Thus, if your magnolia seedling is already too large for a three-inch pot, you can use a larger size pot to fit them.
Finally, expose your seedlings to the sun gradually.
But, make sure you give them partial shade during their first season.
Step Six: Transplant Your Seedlings to Your Yard
You can transfer your seedlings to your yard when they are eight to twelve inches high.
Overall, you should try to plant your seedlings in a permanent location by the end of their first summer because they have a complicated root system that grows quickly.
So, you should find a spot where your magnolia trees can get eight hours of sunlight every day and where their roots have plenty of room to grow.
Therefore, you should transplant your trees to a permanent location away from any buildings.
You also want to plant your trees in a spot where foot traffic will not damage shallow roots.
Additionally, it is good to keep in mind that magnolia trees look their best when you space them out.
- Free 30-Day Returns
- Full Refund for Damaged or Incorrect Items
- Guaranteed Delivery or Money Back
- Secure Checkout & Fast Support

Magnolias are some of the most beautiful trees in existence, but growing them requires lots of care and patience.
You start the process by letting the seed pods open, carefully storing the seeds, and then germinating the seeds.
However, luckily, the process to grow their seeds is the same across all magnolia tree types.
You should gather your magnolia seed pods between mid-September and mid-October.
Also, unlike other seeds, do not attempt to open the seed pods yourself because they will open on their own when they are ready.
Step Two: Prepare the Seeds
When the pods open, you will see your seeds covered in red flesh.
Once this happens, you can place the seeds in a bowl of warm water for 24 hours to loosen the flesh so you can remove it easily.
Or, you can try rubbing the seeds on a metal screen to make this process easier and faster.
Then, when you’ve gotten off all the flesh, you should remove the oily residue from your bare seeds by washing them with liquid soap.
Also, to help speed up the germination process, you can choose to scar the hard coat of the seeds by rubbing the seeds with sandpaper.
Step Three: Store the Seeds in the Winter
It’s crucial to remember that you will kill your seeds if you store them at room temperature.
So you should instead keep them in a sealed bag at refrigerator temperature.
And, of course, the simplest way to ensure your seeds stay at this temperature is to keep them in the fridge.
But, just make sure that before you store your seeds, you put an equal mixture of river sand, peat moss, and a wrung-out sponge into the storage bag.
Overall, you can store your seeds at refrigerator temperature for up to six months.
Step Four: Germinate the Seeds
A great time to start germinating your magnolia seeds is during the early part of spring.
You should use a seed tray covered in a half-inch of compost soil to plant the seeds.
And don’t forget to mist the soil with water before covering it with plastic wrap.
After you’ve done these steps, you should find a warm place to store the seed tray while you are waiting for the seeds to germinate.
Most magnolia seeds will take between a month to a month and a half to germinate, but some will take longer, so be patient.
Then, when the seeds finally start to germinate, you should remove the plastic wrap and store the tray by a window.
Step Five: Transplant Your Magnolias to a Container
Once the seedlings have germinated and have grown a second set of leaves, it is time to transfer them to their own individual containers.
And normally, you should put your seedlings in three-inch pots that use the same compost soil you used for germination.
However, depending on how quickly your magnolias are growing, a three-inch pot might not have enough room.
Thus, if your magnolia seedling is already too large for a three-inch pot, you can use a larger size pot to fit them.
Finally, expose your seedlings to the sun gradually.
But, make sure you give them partial shade during their first season.
Step Six: Transplant Your Seedlings to Your Yard
You can transfer your seedlings to your yard when they are eight to twelve inches high.
Overall, you should try to plant your seedlings in a permanent location by the end of their first summer because they have a complicated root system that grows quickly.
So, you should find a spot where your magnolia trees can get eight hours of sunlight every day and where their roots have plenty of room to grow.
Therefore, you should transplant your trees to a permanent location away from any buildings.
You also want to plant your trees in a spot where foot traffic will not damage shallow roots.
Additionally, it is good to keep in mind that magnolia trees look their best when you space them out.
Magnolias are some of the most beautiful trees in existence, but growing them requires lots of care and patience.
You start the process by letting the seed pods open, carefully storing the seeds, and then germinating the seeds.
However, luckily, the process to grow their seeds is the same across all magnolia tree types.
You should gather your magnolia seed pods between mid-September and mid-October.
Also, unlike other seeds, do not attempt to open the seed pods yourself because they will open on their own when they are ready.
Step Two: Prepare the Seeds
When the pods open, you will see your seeds covered in red flesh.
Once this happens, you can place the seeds in a bowl of warm water for 24 hours to loosen the flesh so you can remove it easily.
Or, you can try rubbing the seeds on a metal screen to make this process easier and faster.
Then, when you’ve gotten off all the flesh, you should remove the oily residue from your bare seeds by washing them with liquid soap.
Also, to help speed up the germination process, you can choose to scar the hard coat of the seeds by rubbing the seeds with sandpaper.
Step Three: Store the Seeds in the Winter
It’s crucial to remember that you will kill your seeds if you store them at room temperature.
So you should instead keep them in a sealed bag at refrigerator temperature.
And, of course, the simplest way to ensure your seeds stay at this temperature is to keep them in the fridge.
But, just make sure that before you store your seeds, you put an equal mixture of river sand, peat moss, and a wrung-out sponge into the storage bag.
Overall, you can store your seeds at refrigerator temperature for up to six months.
Step Four: Germinate the Seeds
A great time to start germinating your magnolia seeds is during the early part of spring.
You should use a seed tray covered in a half-inch of compost soil to plant the seeds.
And don’t forget to mist the soil with water before covering it with plastic wrap.
After you’ve done these steps, you should find a warm place to store the seed tray while you are waiting for the seeds to germinate.
Most magnolia seeds will take between a month to a month and a half to germinate, but some will take longer, so be patient.
Then, when the seeds finally start to germinate, you should remove the plastic wrap and store the tray by a window.
Step Five: Transplant Your Magnolias to a Container
Once the seedlings have germinated and have grown a second set of leaves, it is time to transfer them to their own individual containers.
And normally, you should put your seedlings in three-inch pots that use the same compost soil you used for germination.
However, depending on how quickly your magnolias are growing, a three-inch pot might not have enough room.
Thus, if your magnolia seedling is already too large for a three-inch pot, you can use a larger size pot to fit them.
Finally, expose your seedlings to the sun gradually.
But, make sure you give them partial shade during their first season.
Step Six: Transplant Your Seedlings to Your Yard
You can transfer your seedlings to your yard when they are eight to twelve inches high.
Overall, you should try to plant your seedlings in a permanent location by the end of their first summer because they have a complicated root system that grows quickly.
So, you should find a spot where your magnolia trees can get eight hours of sunlight every day and where their roots have plenty of room to grow.
Therefore, you should transplant your trees to a permanent location away from any buildings.
You also want to plant your trees in a spot where foot traffic will not damage shallow roots.
Additionally, it is good to keep in mind that magnolia trees look their best when you space them out.
Seller Notes
Climate
Common Name
Color
Indoor/Outdoor
Growth Habit
Tree Type
Brand
Season of Interest
Type
Life Cycle
Watering
Genus
Sunlight
Features
Cultivating Difficulty
Country/Region of Manufacture
UPC
Processing Time
- We process and ship orders Monday through Friday, excluding holidays.
- Most orders are processed within 1–3 business days, depending on product availability.
- Processing time does not include delivery time, which varies based on your location and the product’s shipping origin.
Shipping Coverage
We currently ship to addresses within the United States only.
Products may ship from:
- Our U.S. warehouses, or
- Our international fulfillment centers (including Korea, Japan, China, Australia, Mexico, Canada, the United Kingdom, and the EU).
Each product page clearly displays the “Ships From” location before checkout.
Shipping Methods & Estimated Delivery
| Shipping Method | Estimated Delivery | Cost |
|---|---|---|
| Free Shipping (US) | 5–10 business days | Free, available on eligible items |
| Standard Shipping (US to US by Item) | 5–10 business days | $5.95 for the first item, $3.00 each additional |
| Standard Shipping (From US Warehouse by Weight) | 3–7 business days | Starts at $5.95, increasing by $2 for every additional 4 oz (0.25 lb) up to 1 lb, then by $4 for each additional pound beyond 1 lb. |
| Extended Delivery (Ships from Overseas Warehouse) | 10–20 business days | $14.99 for the first item, $2.00 each additional |
Shipping costs vary by product weight, quantity and origin. Exact rates and delivery estimates are displayed on each product page and confirmed during checkout.
Free Shipping
We offer free standard shipping on select products or during promotional periods. Availability of free shipping will be displayed on the product page and at checkout.
Carriers
We primarily use USPS and UPS for U.S. deliveries. Items shipped from international warehouses may be handled by partner carriers depending on the country of origin.
Import Duties & Taxes
All import duties and taxes for goods imported into the United States are included in the product price. There are no hidden fees or additional charges at checkout.
Tracking & Notifications
Every order is fully trackable. You will receive a tracking number via email once your order ships. If your order ships in multiple packages, each package will have its own tracking number. If you don’t receive a shipping confirmation immediately, your order is still being processed and will arrive within the estimated timeframe shown at checkout.
You can track your shipment anytime using the Track Your Order page on our website.
Order Changes & Cancellations
If you need to modify or cancel an order, please contact our customer support team as soon as possible. Orders can only be canceled before they ship. Once shipped, cancellations are not possible, but you may request a return after the item is delivered.
Contact: support@ibspot.com
Item Not Received
If your tracking number shows “Delivered” but you haven’t received your package:
- Check with your local USPS or UPS office.
- Confirm that the shipping address provided was correct.
- If the issue remains unresolved, contact support@ibspot.com for assistance.
Damaged or Lost Parcels
If your package arrives damaged or fails to arrive, please contact us immediately. For deliveries to P.O. boxes, ibspot is not responsible for damage caused by weather, temperature, or theft.
Customer Support
For any questions about shipping, tracking, or delivery, our customer support team is here to help.
Email: support@ibspot.com
We’re always happy to help.
Please read our policy carefully before making a purchase.
We aim to ensure every customer has a smooth and transparent experience with ibspot.com.
Order Cancellation Policy
Customers may request to cancel an order before it has been shipped.
Once the package has been shipped, cancellations are no longer possible; however, you may still request a return after receiving your order.
How to Request a Cancellation
You can contact us through:
- Email: support@ibspot.com
- Contact Form: Submit a request through our Contact Us page
Please submit your cancellation request as soon as possible after placing the order to allow us to process it before shipment.
Return Policy
We accept returns for most items within 30 days of delivery for a full refund.
To be eligible for a return:
- The item must be unused, in the same condition as received, and in its original packaging.
- A tracking number must be provided to confirm the return shipment.
Non-Returnable Items
Certain products cannot be returned, including:
- Perishable goods (for example, food, flowers, newspapers, magazines)
- Intimate or sanitary goods
- Hazardous materials or flammable liquids/gases
- Gift cards
- Downloadable software
- Some health and personal care items
Partial Refunds (If Applicable)
Partial refunds may be granted in specific situations, such as:
- Books with obvious signs of use
- Opened CDs, DVDs, software, or vinyl records
- Items not in their original condition, damaged, or missing parts not due to our error
- Items returned more than 30 days after delivery
How to Return an Item
To initiate a return, please contact us at support@ibspot.com with your order number and details about the product you wish to return.
Our team will provide you with return instructions and a prepaid return label.
Shipping Cost for Returns
Please contact us before returning any item.
We may provide a return shipping label for your return. If the return is due to our error, such as receiving the wrong item, a damaged item, or a defective product, we will cover the return shipping cost.
If the return is due to the customer’s reason, such as ordering the wrong item, changing your mind, or no longer needing the item, the original shipping fee and the return label fee will be deducted from your refund amount.
If a return is sent back without prior contact or without using our provided label, we cannot be held responsible for any return shipping costs or delivery issues.
For items valued over $75, we recommend using a trackable shipping service or purchasing shipping insurance.
We cannot guarantee that we will receive your returned item if shipped independently.
Refund Processing
Once your return is received and inspected:
- In-store returns are refunded to the original form of payment or issued as a gift card.
- Mail-in returns using our prepaid label are refunded to the original payment method within 3–5 business days after we receive your return.
Please allow:
- 5–7 business days for the return to reach our Returns Center.
- An additional 3–10 business days for your bank to post the refund to your account.
Damages, Issues & Claims
Please inspect your order immediately upon receipt.
If you receive a defective, damaged, or incorrect item, contact us right away at support@ibspot.com.
We’ll evaluate the issue promptly and make it right.
Product Claims
Before purchasing, please review product details carefully.
If there is a problem with your order upon arrival, visit our Support Center or contact us directly to arrange return shipping or replacement.
Exchanges
We do not process direct exchanges.
The fastest way to get what you need is to return the original item and place a new order once your return is accepted.
Return Address
IBSPOT Return Center
15 Sawmill Ln
Dover Plains, NY 12522
United States
Customer Support
Our support team is available 24/7 to assist with cancellations, returns, or general inquiries.
Email: support@ibspot.com
Contact Form: Contact Us page
Oops!
Sorry, it looks like some products are not available in selected quantity.